How custom logo embroidery actually works — digitizing, stitch types, sizing, and prepping your logo so it stitches out crisp. Plus when to embroider vs. print, from a Mesa shop that stitches company logos every day.
A logo stitched onto a polo, a cap, or a jacket is one of those small things that makes a company look buttoned-up. Thread has a weight to it that a print just doesn't — it catches the light, it holds up wash after wash, and it reads as *considered*. But getting there is a little more involved than emailing your logo over and hoping for the best.
Here's exactly how logo embroidery works, start to finish, and how to set your artwork up so it comes out sharp the first time. We run three commercial machines here in Mesa and stitch company logos every day for businesses across the Valley — embroidery in Phoenix, Scottsdale, and beyond — so this is the stuff we'd walk you through on the phone — no jargon wall, just how it actually works.
How does logo embroidery work?
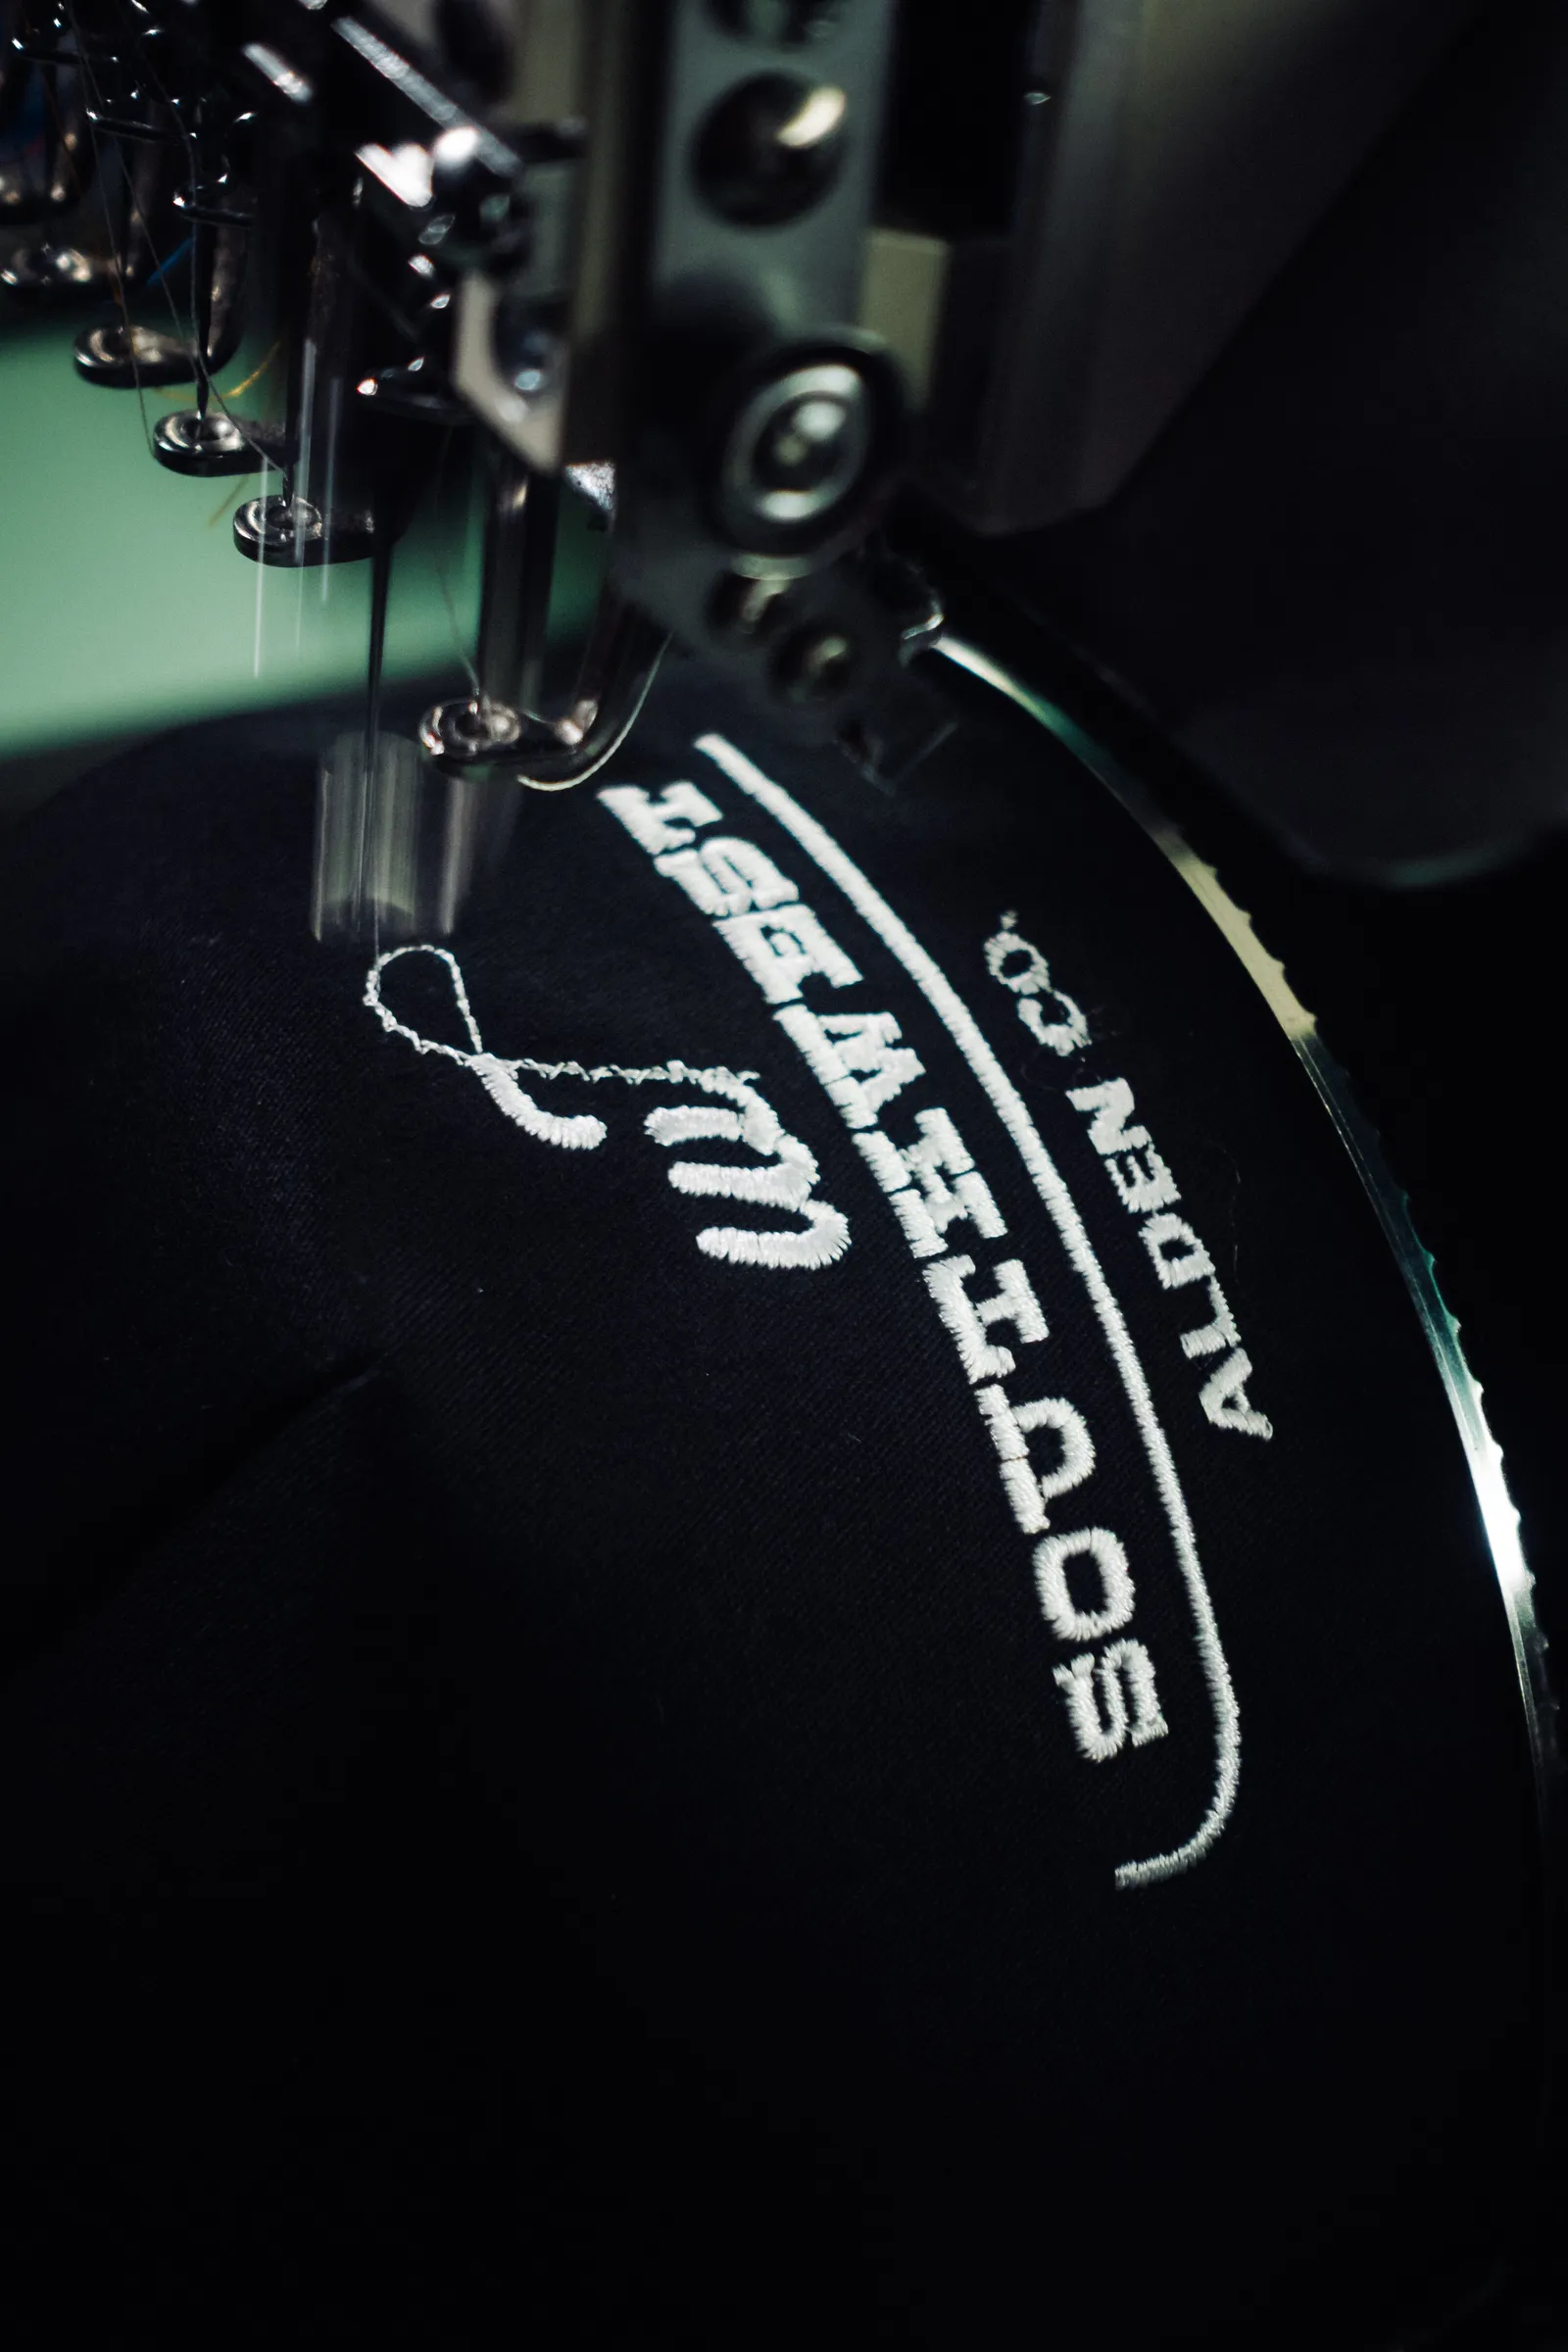
Logo embroidery works by turning your artwork into a stitch file, then sewing that design into the fabric with thread. Your logo is digitized into a stitch path, the garment is hooped with a stabilizer behind it, and a commercial machine stitches the design color by color until it's done — no ink, just thread. The result is an embroidered logo that outlasts any print, because it's thread all the way through rather than a layer sitting on the fabric.
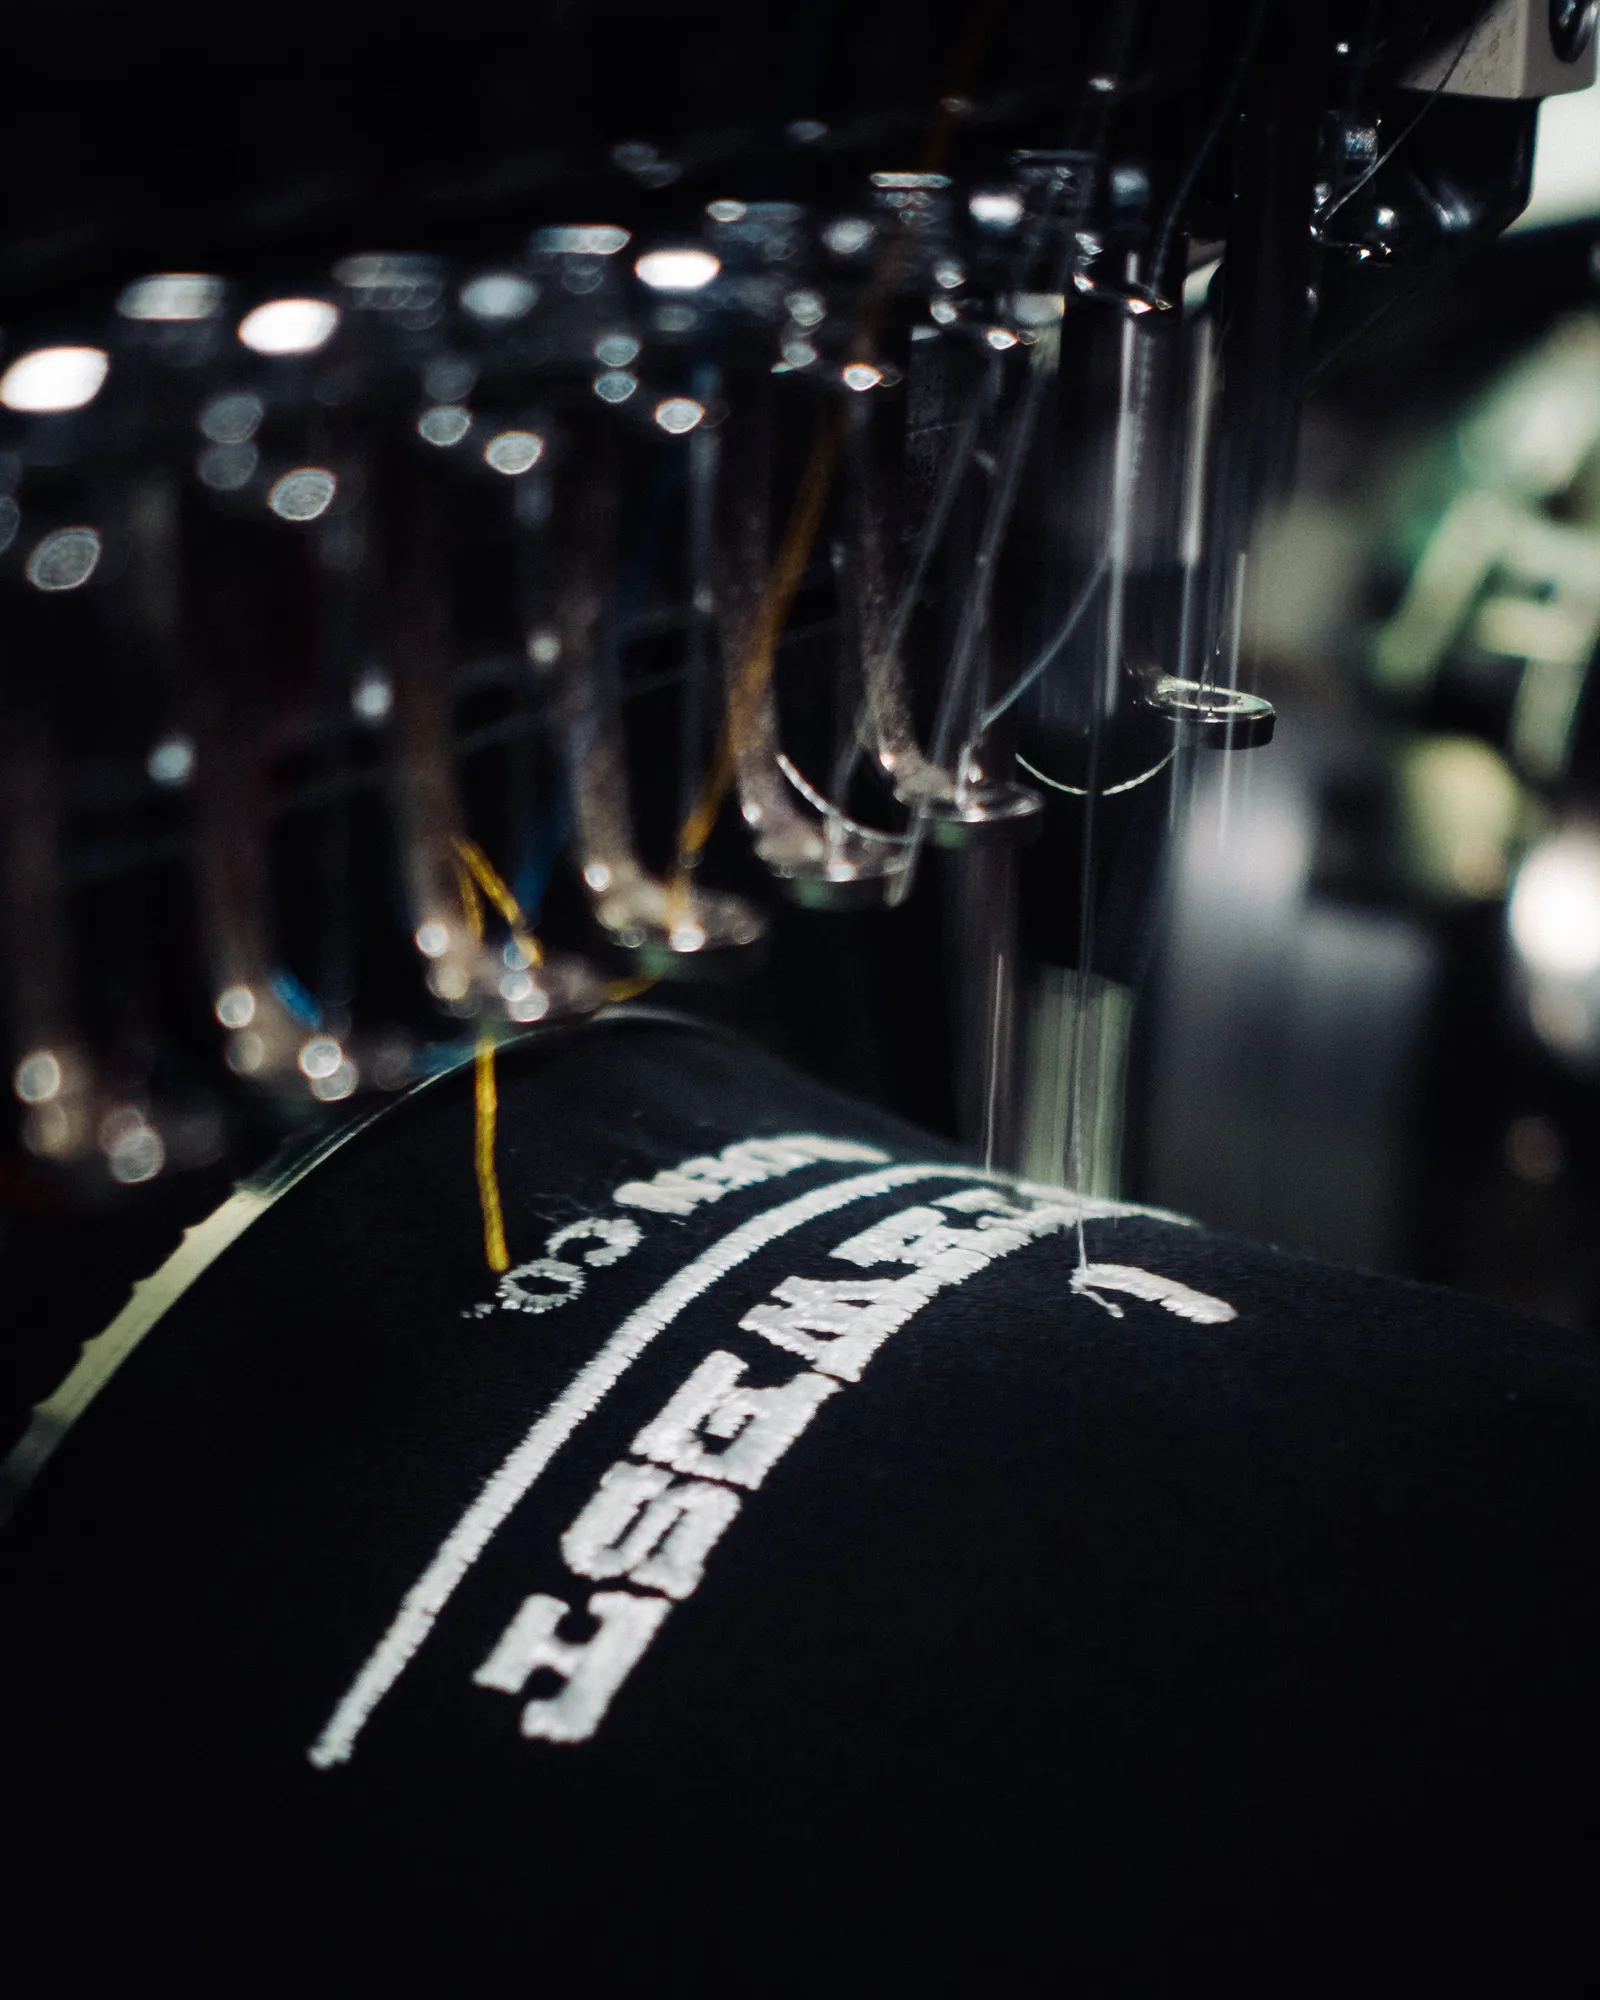
Broken into steps, it goes like this. First we digitize your logo — convert the artwork into a file that tells the machine where every stitch goes (more on that in a second, because it's the part that makes or breaks the result). Then we hoop the garment, clamping it tight with a backing material behind it so the fabric can't shift or pucker. We load the thread colors to match your logo, and the machine stitches one color at a time, trimming and jumping between areas on its own. When it's finished, we trim the loose threads, pull the backing, and check it against your logo before it goes in the pile.
The whole thing is part craft, part setup. The machine does the sewing, but the quality lives in the file behind it and the hands that prep the garment. A great logo file on a well-hooped shirt looks crisp; a bad file on a floppy hoop looks lumpy no matter how nice the machine is.
What "digitizing" means (and why every logo needs it)
This is the step most people have never heard of, and it's the one that matters most. Digitizing is converting your logo into a stitch file — usually a DST — that maps out the path the needle takes, the direction of the stitches, how dense they are, and the underlay that goes down first to anchor everything. It is not the same as uploading a picture. A digitizer (a person, using software) is basically rebuilding your logo in thread.
Why it matters: good digitizing is the difference between a logo that looks sharp and one that looks lumpy, puckered, or gappy. Stitch direction catches light and gives letters their shape. Density decides whether the fabric shows through or the thread bunches up. Underlay keeps the top stitches from sinking into a knit. None of that is automatic — it's judgment, and it's where a shop earns its keep.
The good news for you: digitizing is a one-time setup per design. Once your logo is dialed in, that file lives with us and gets reused for every reorder — same look, no repeat setup. So the first run carries the setup; the tenth run just runs.
How to prep your logo for embroidery
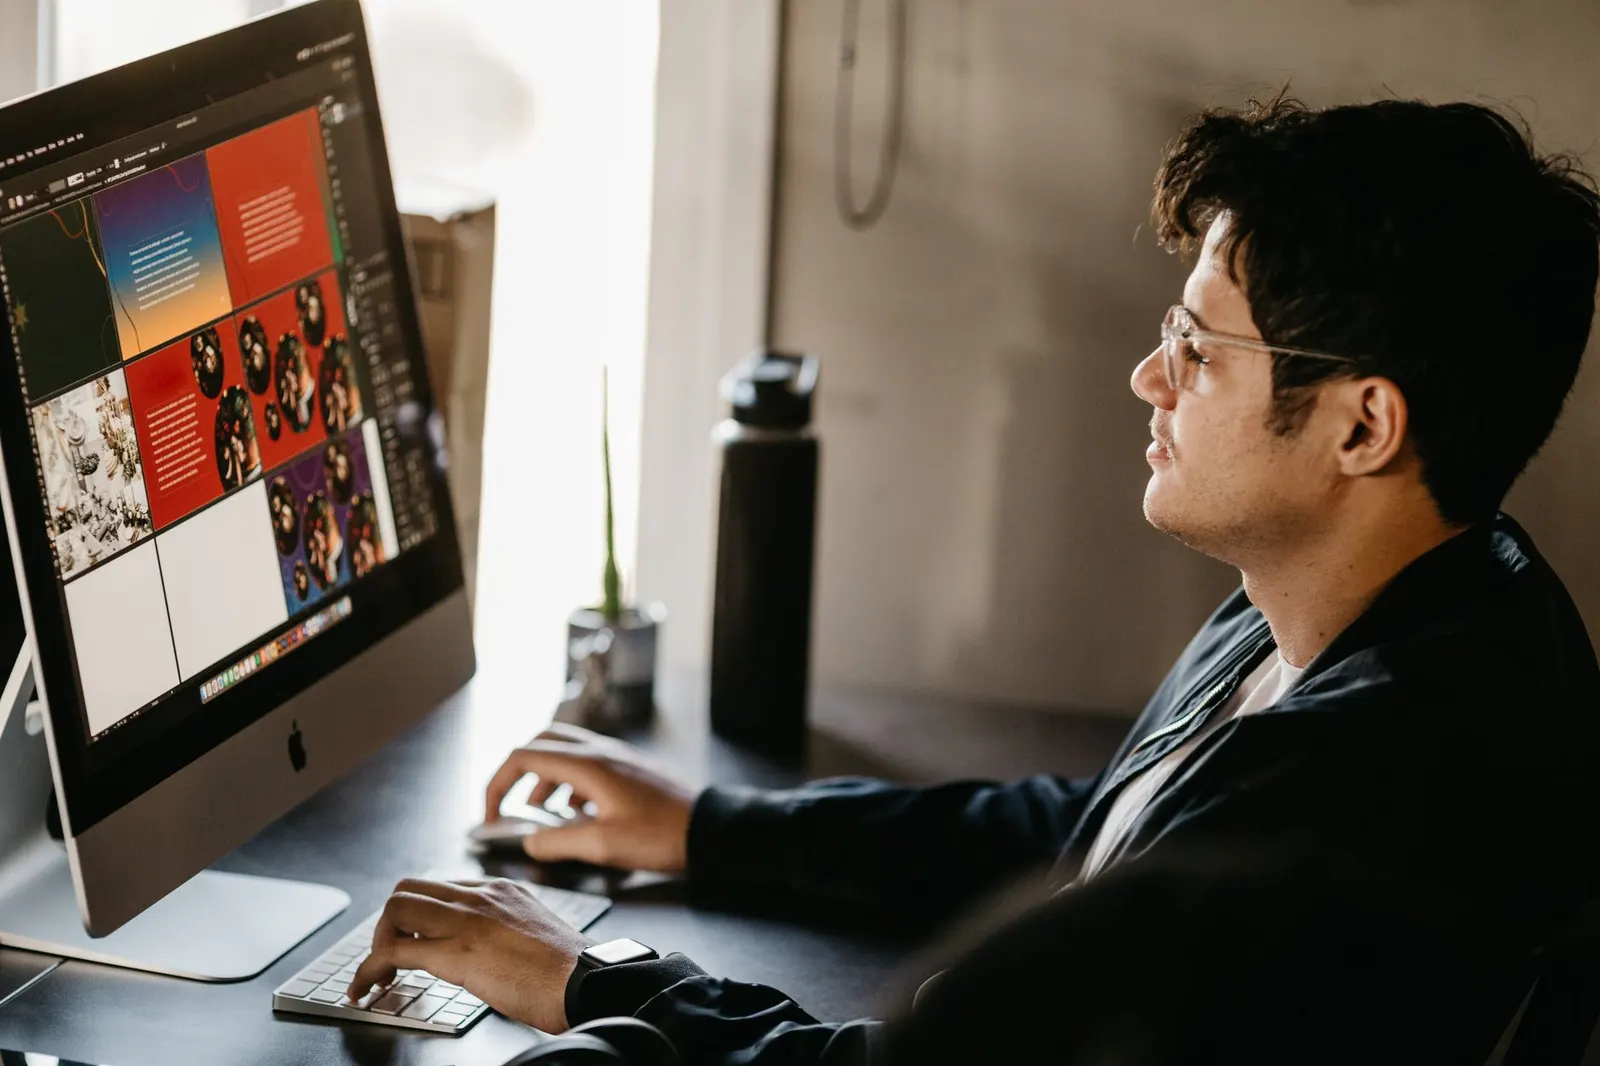
You don't have to hand us a perfect file — fixing artwork is part of the job, and we'll flag anything that won't stitch well before it hits a garment. But the closer your logo is to embroidery-friendly, the better and faster it comes out. A few things that help:
Send the best file you've got
Vector art is gold — an AI, EPS, or PDF scales cleanly and digitizes best. If all you have is a logo off your website, send the highest-resolution PNG you can find (300 DPI or a nice big image). We can work from most things, including a decent JPG in a pinch, but a blurry 200-pixel logo means we're guessing at your edges. When in doubt, send everything you have and we'll pick the best source.
Simpler stitches better
Thread is a blunt instrument compared to ink. It can't hold hairline detail, tiny gaps, or a hundred shades — so busy logos get simplified on the way to the needle. Thin outlines, drop shadows, and intricate icons often need to be beefed up or dropped. We'll show you what we'd adjust and why; it's usually small, and the stitched version still reads as *you*, just cleaner. If your logo has a lot going on, this is where we earn our stripes.
Mind the smallest text
The rule of thumb is about a quarter-inch (¼") tall for letters. Smaller than that and the needle can't hold the shape — it blurs into a smudge. That matters most for taglines and phone numbers under a logo. Often the fix is easy: keep the brand name crisp and drop or enlarge the tiny line underneath. On a left chest there's only so much room, so we spend it where it counts.
Colors are thread, not ink
Every color in your logo is a separate spool of thread, matched as close as we can get to your brand colors. A handful of colors is no problem; a photo-realistic logo with dozens of shades is a different animal. And gradients — a color fading into another — don't translate to thread, so they get converted to solid blocks. If your logo leans on a gradient, we'll talk through the cleanest way to render it in stitches.
The stitch types we use
Embroidery isn't one stitch — it's a few, chosen to fit the shape. Knowing the basics helps you picture how your logo will look:
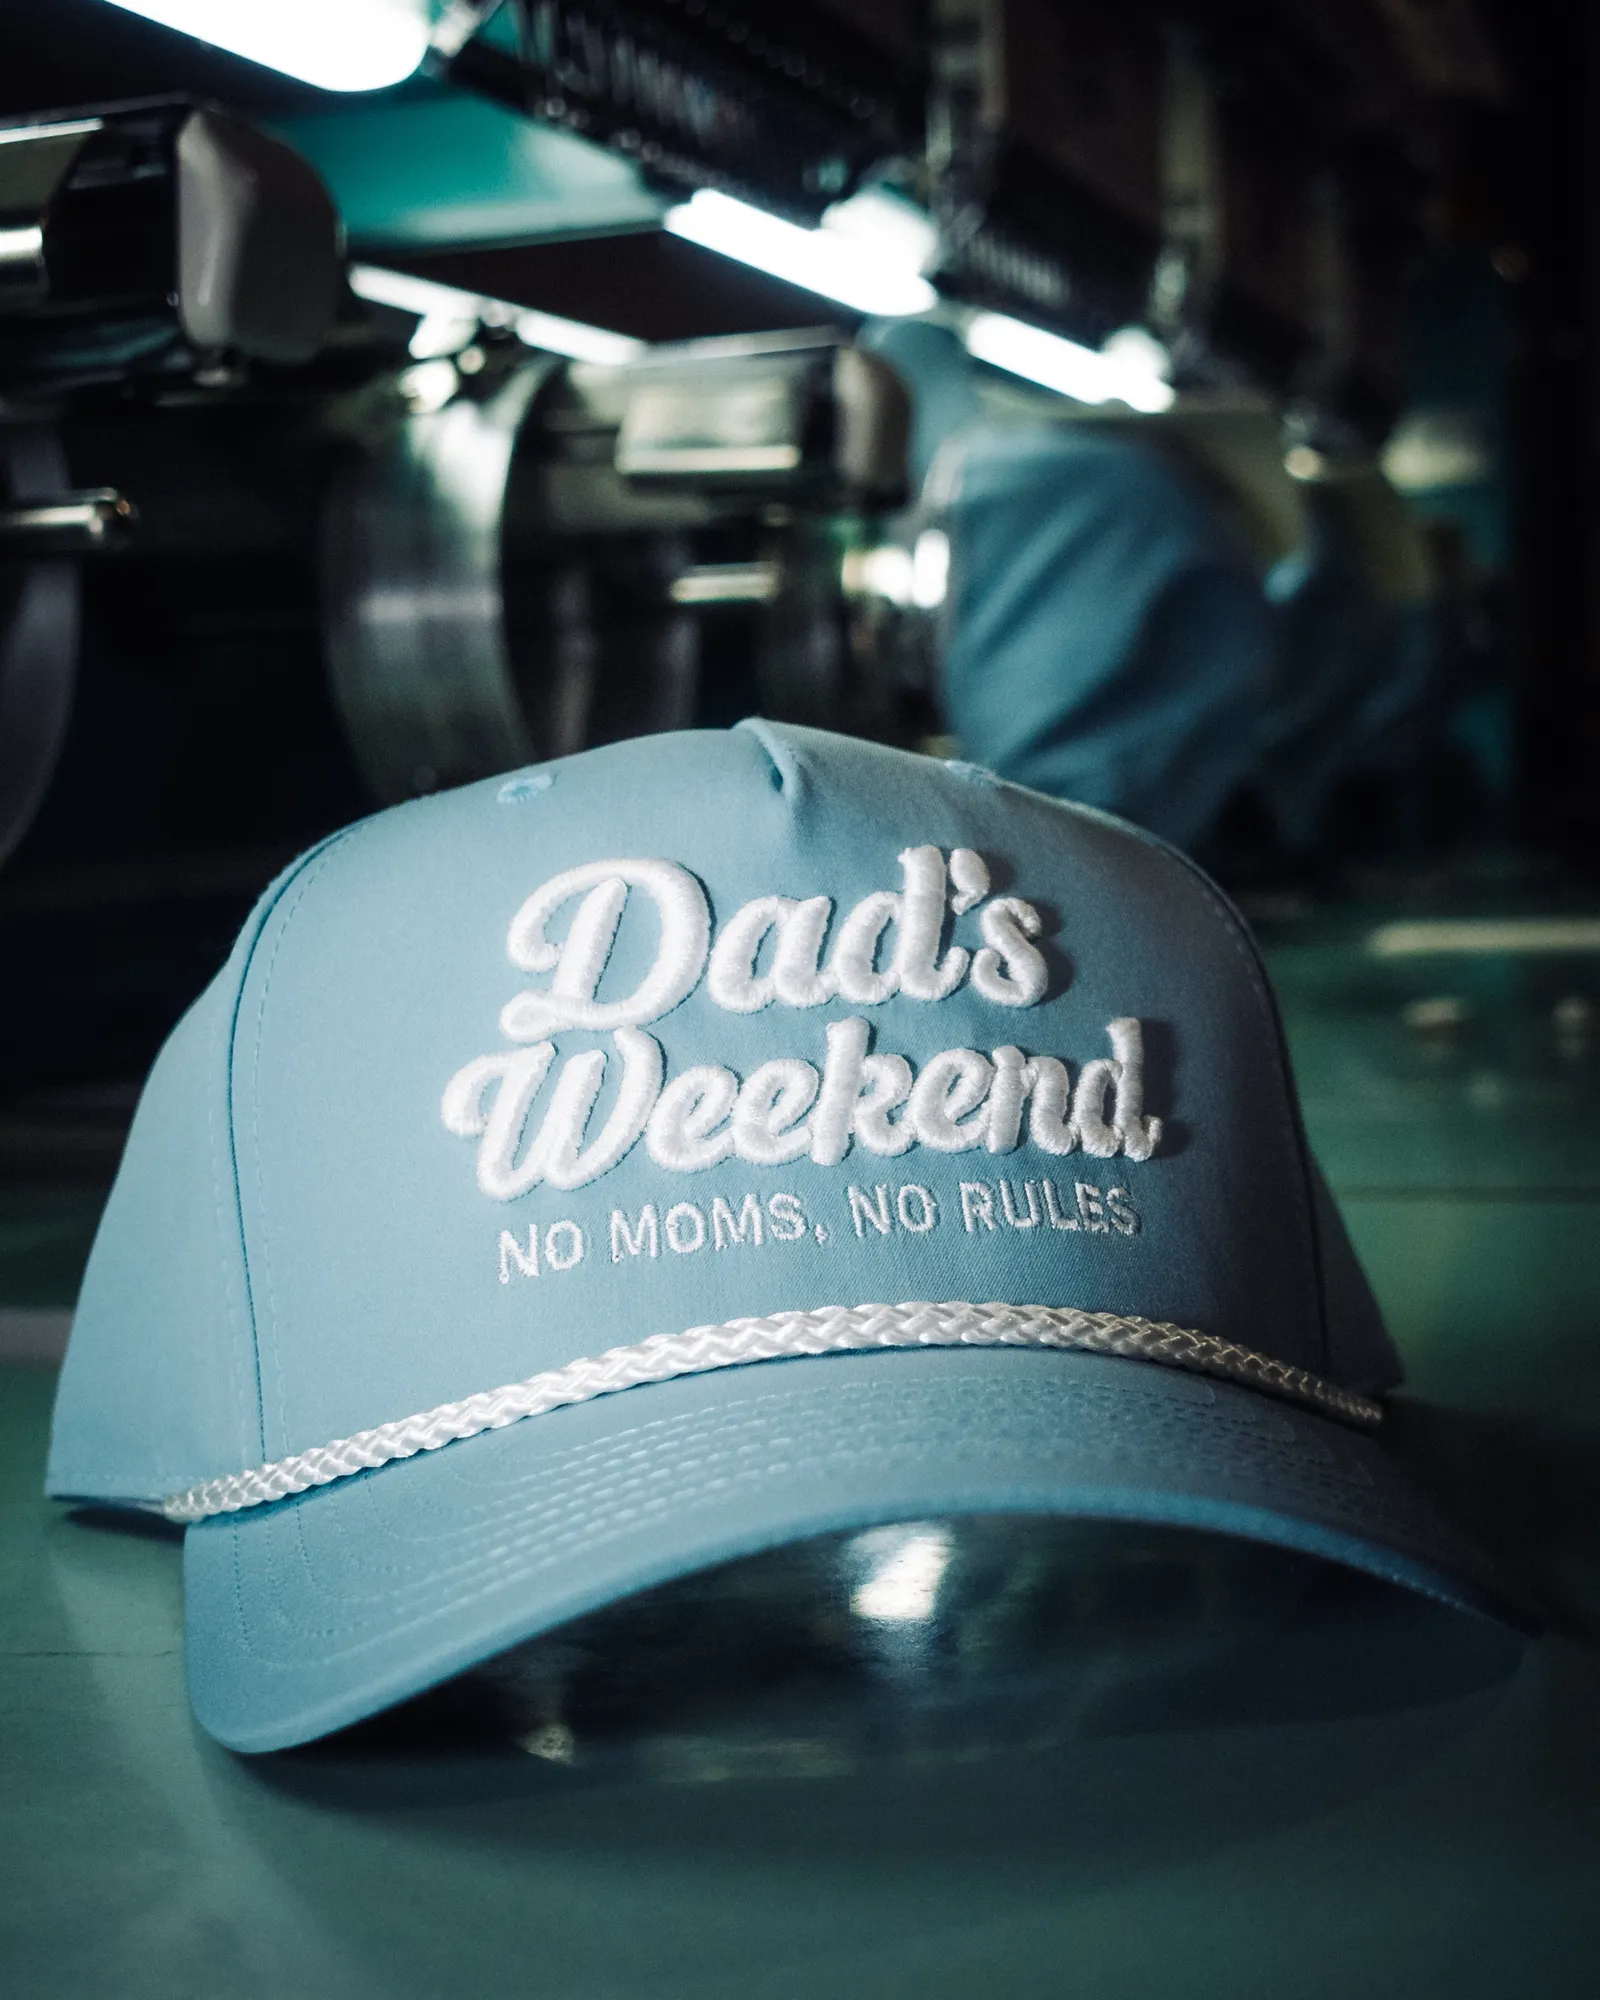
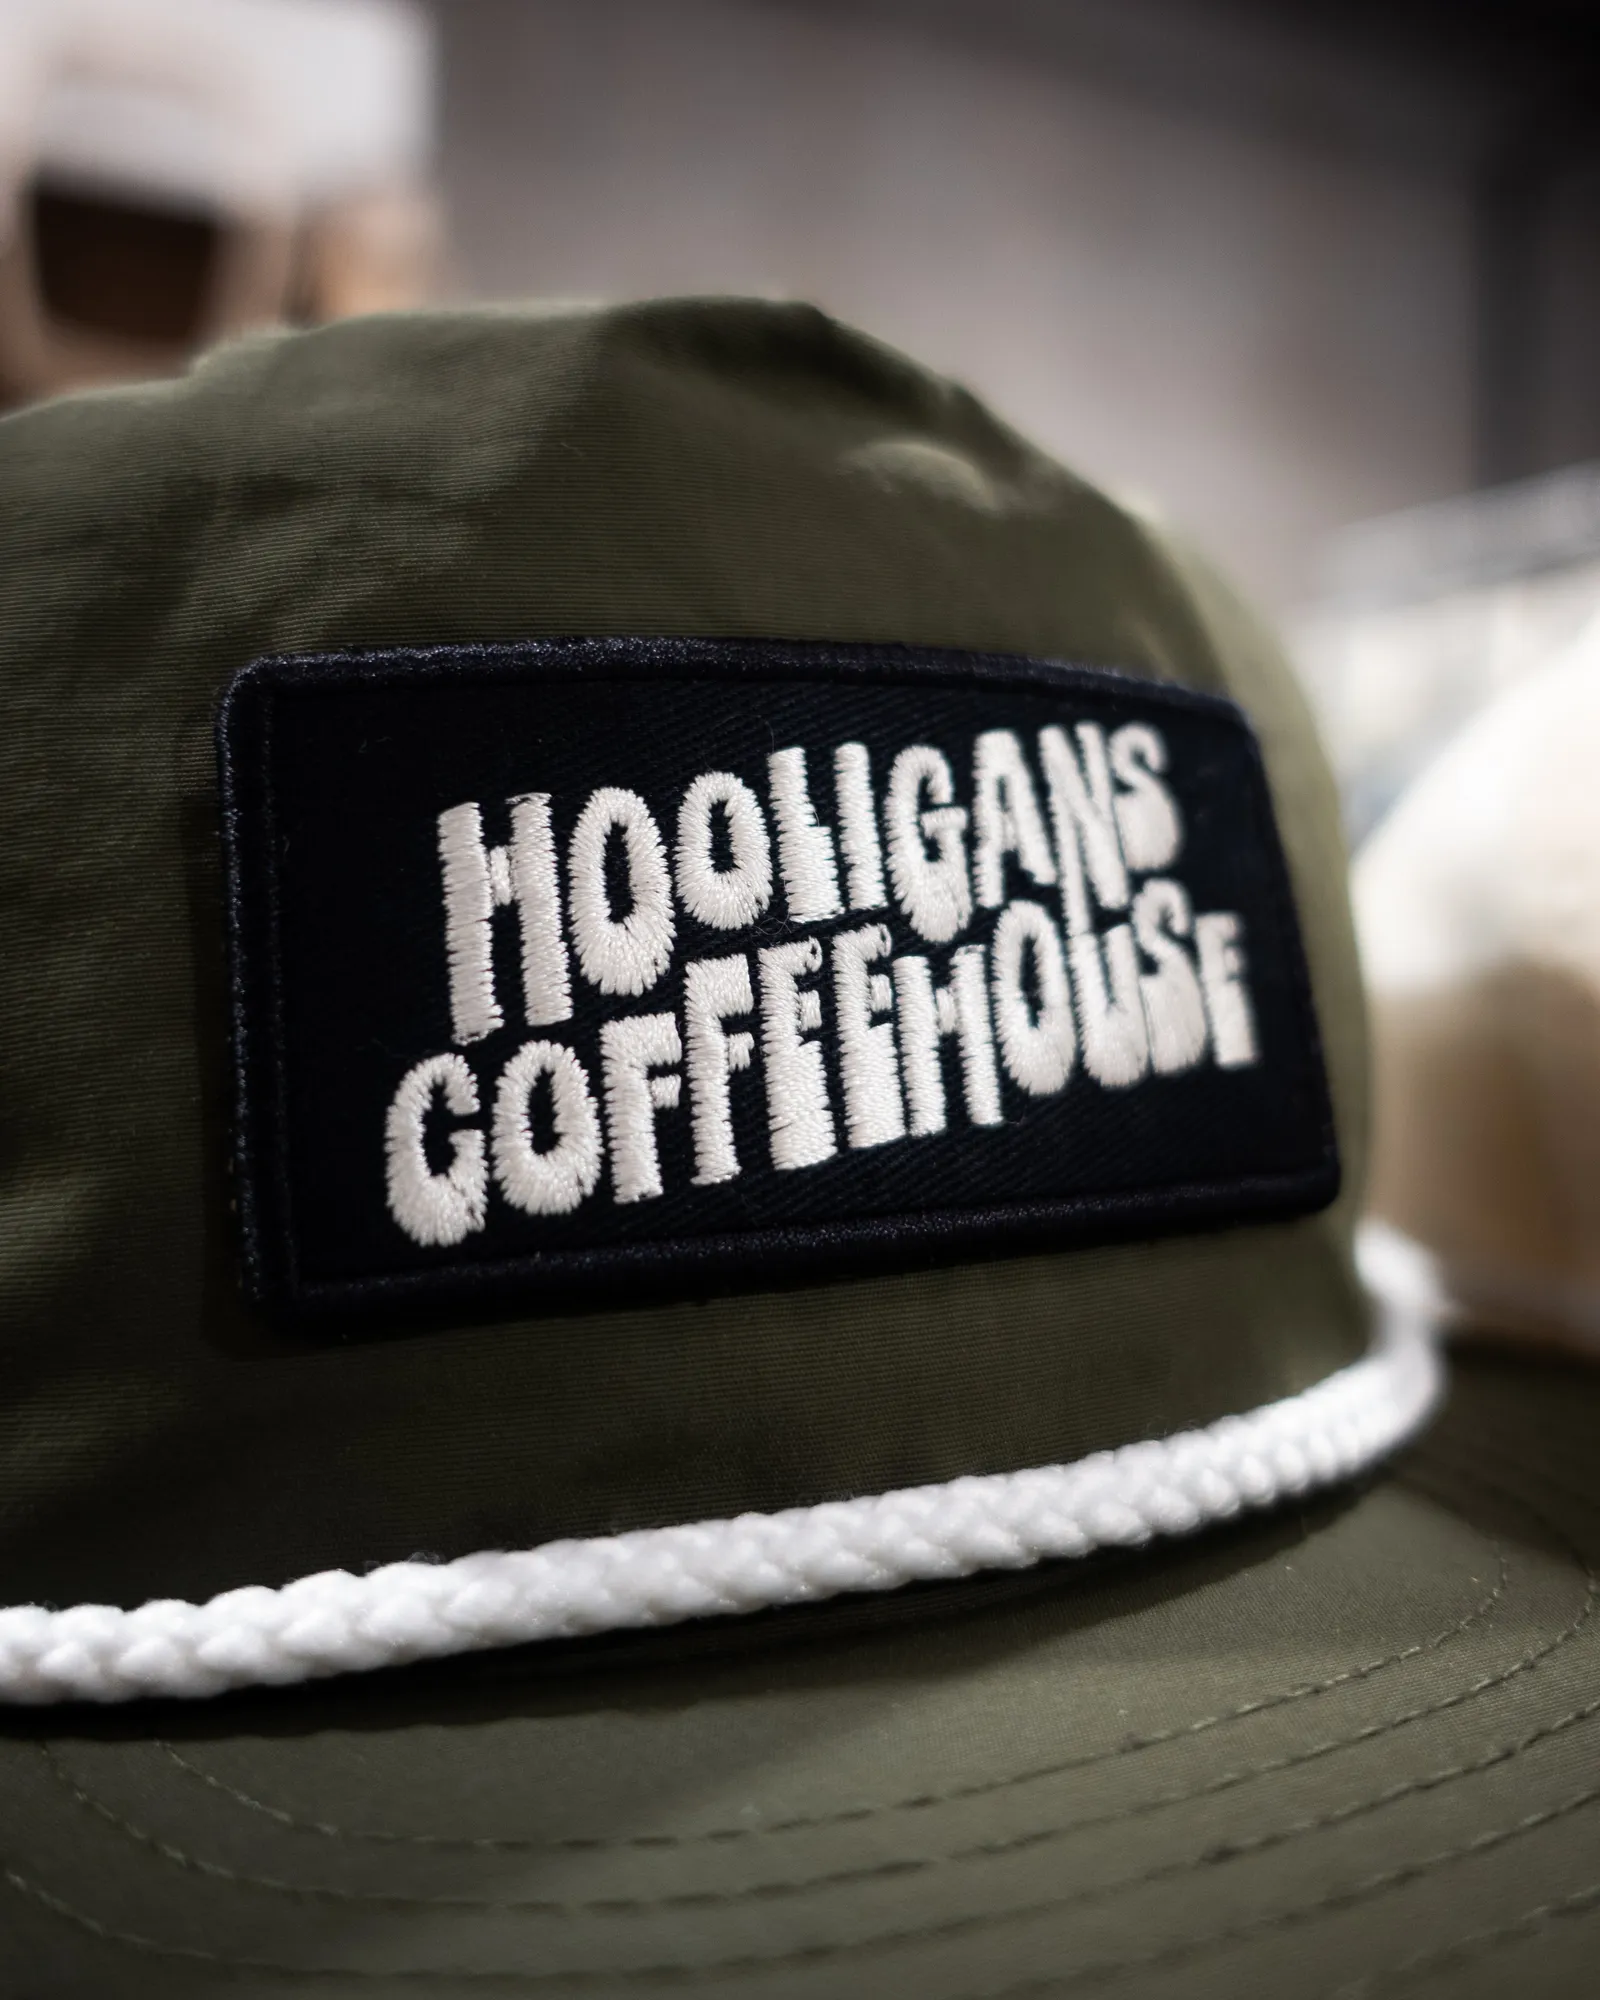
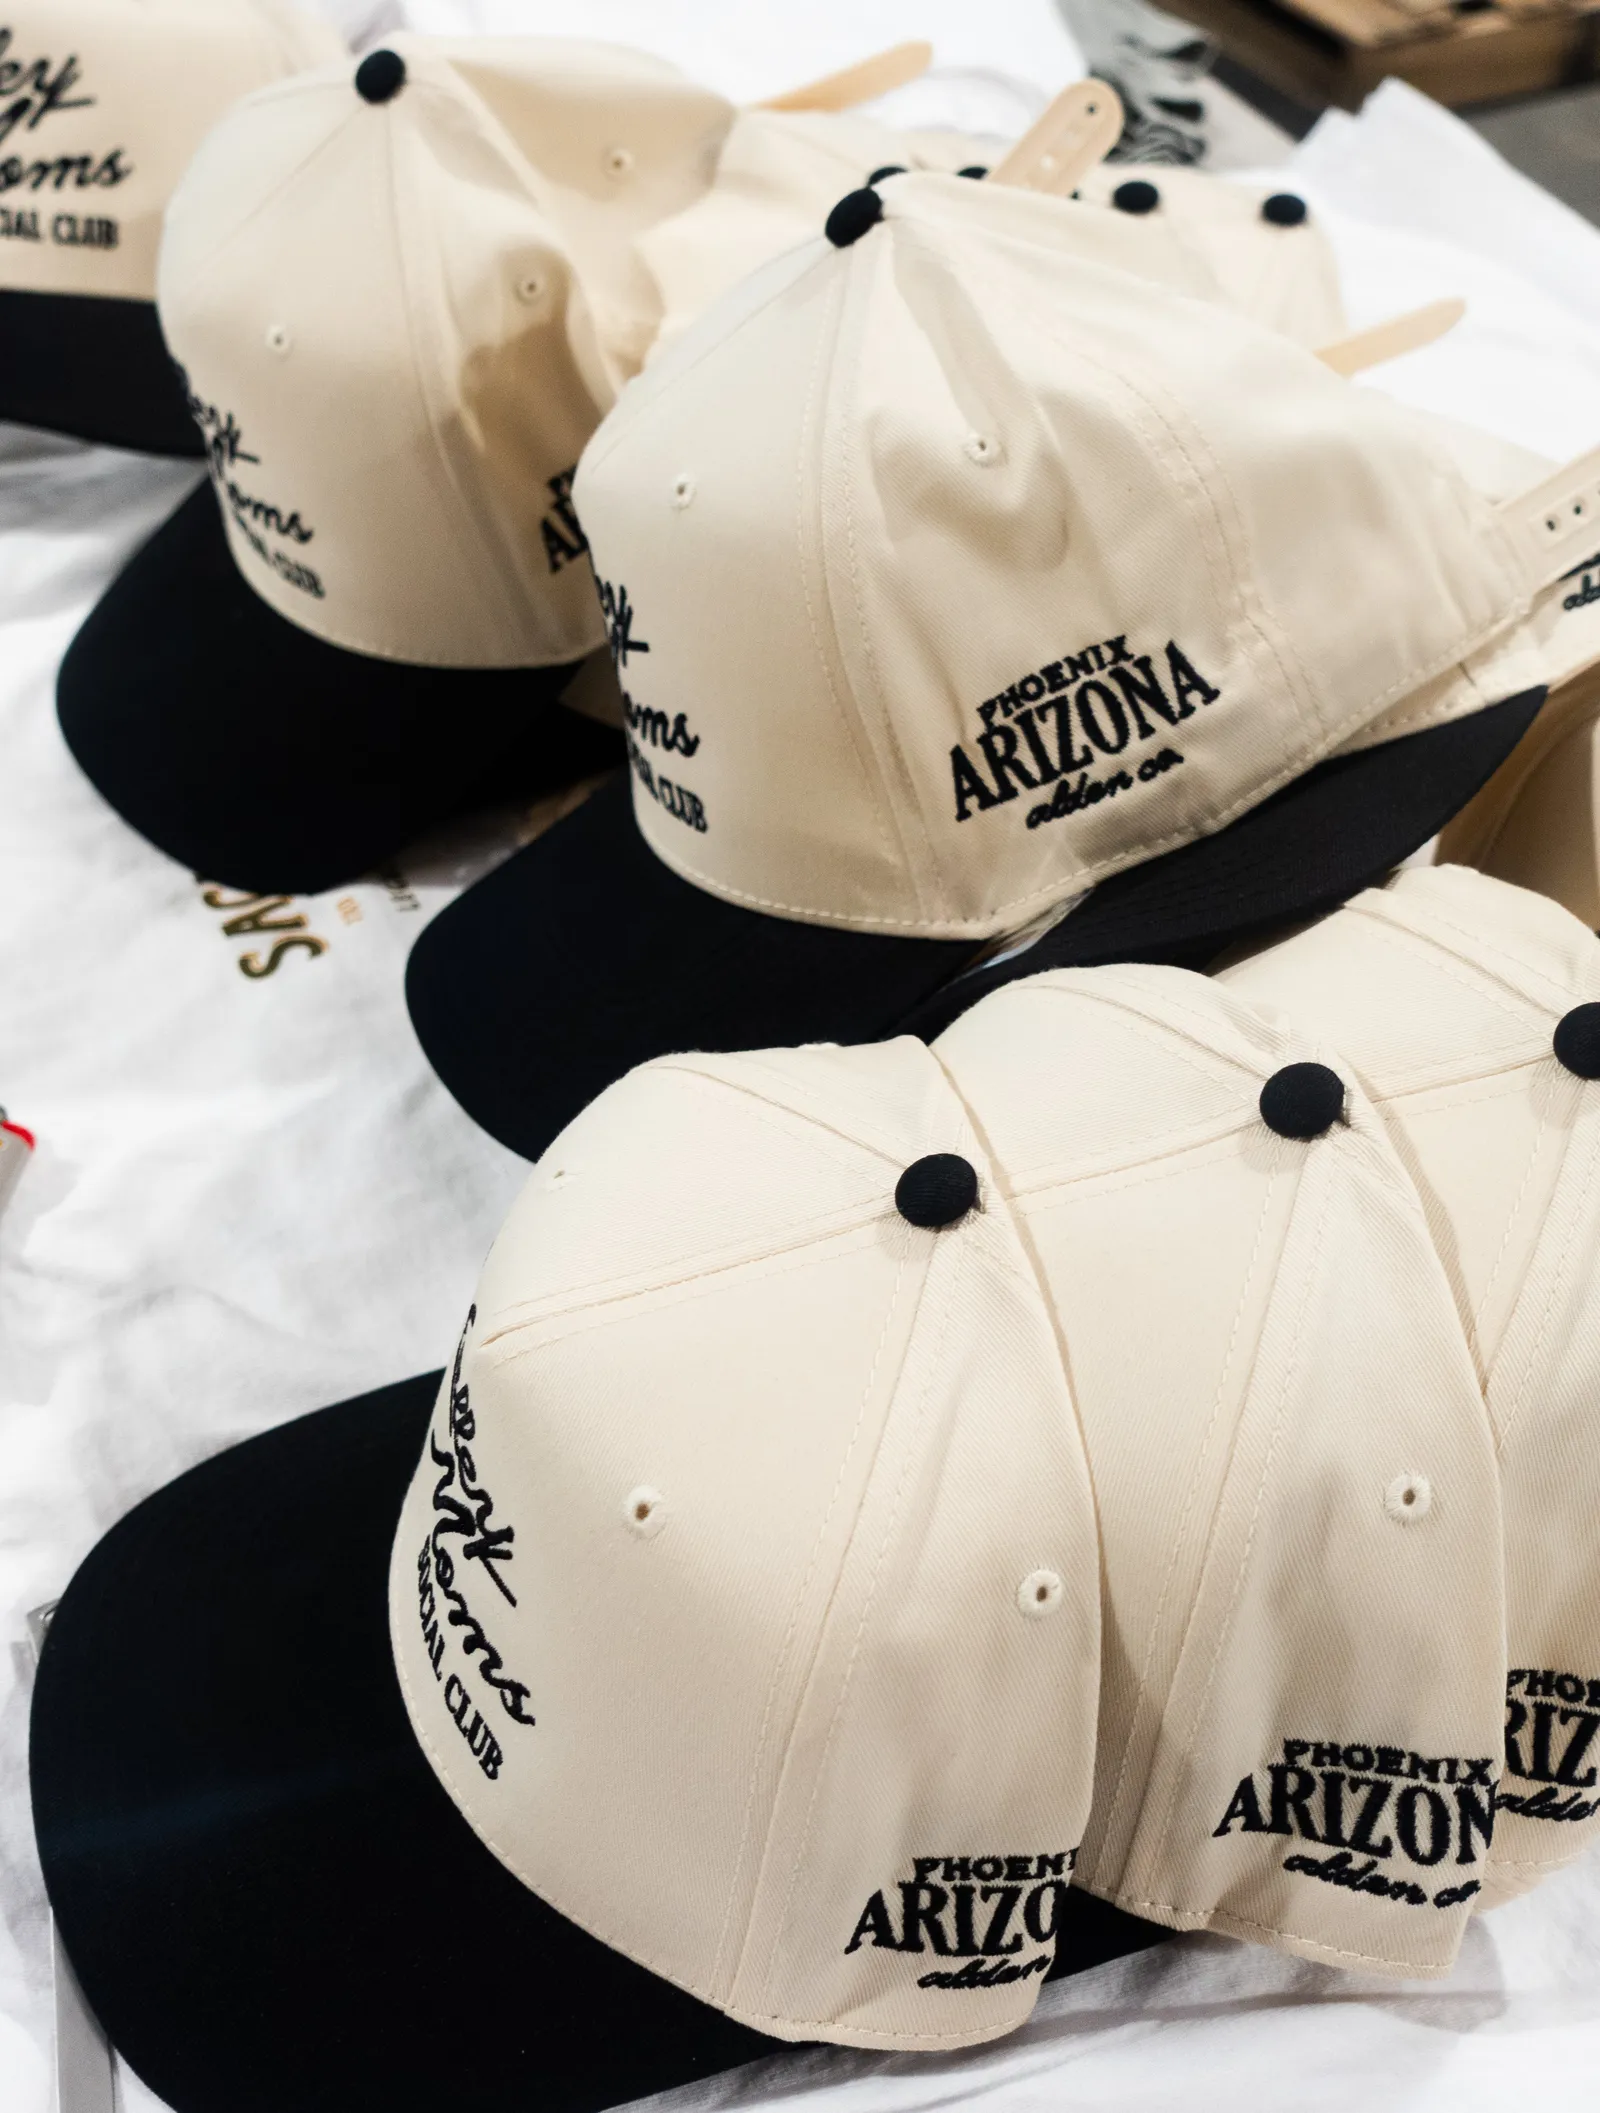
Satin stitch is the smooth, slightly raised stitch you see on lettering and borders — it's what gives text that clean, glossy look. Fill stitch (also called tatami) packs rows of stitching to cover larger solid areas, like a filled shape or a background. Running stitch is a single fine line, good for small details and outlines. And 3D puff stitches over a foam so the design stands up off the fabric — it's the raised look you see on the front of a lot of caps. Most logos use a mix, and part of digitizing is deciding which stitch does which job.
Backing, stitch count, and fabric — what really decides how it looks
Three behind-the-scenes things do most of the work here, and they're worth understanding because they explain a lot.
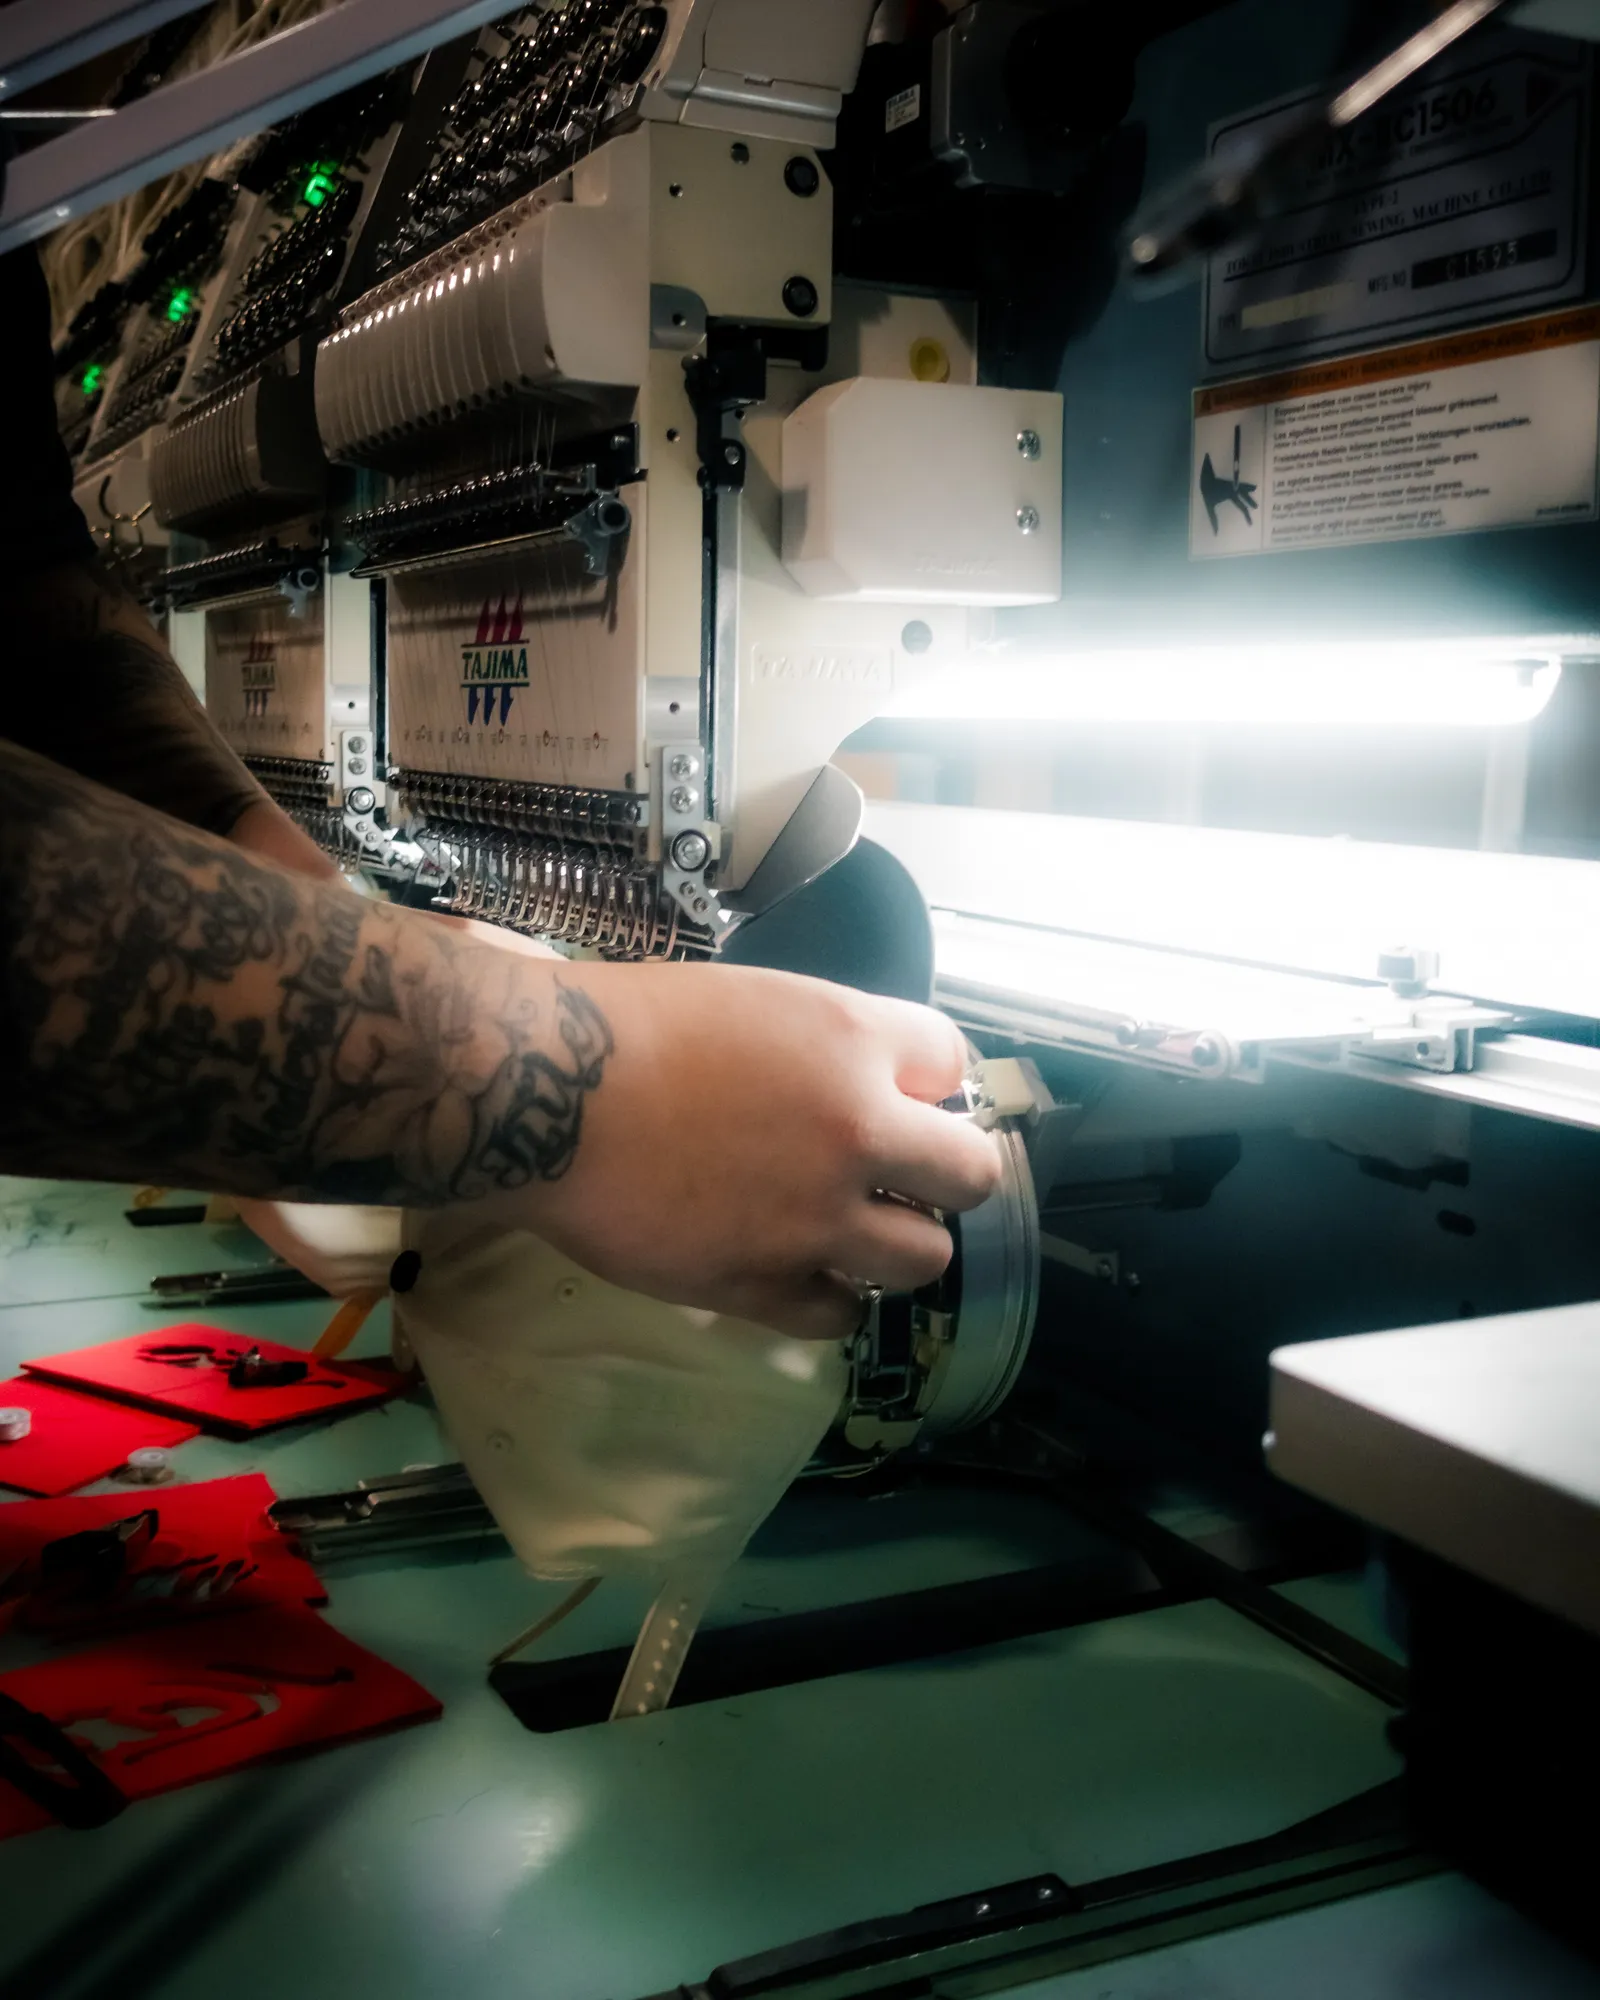
Backing (stabilizer) is the material we hoop behind your garment. It keeps the fabric from stretching or puckering while the needle works. Stretchy and knit fabrics get a cutaway backing that stays put permanently; stable wovens get a tearaway that pulls off after. Skip it or use the wrong one and even a great logo file comes out warped — this is the quiet reason cheap embroidery looks cheap.
Stitch count is exactly what it sounds like: how many stitches your logo takes. A dense, detailed design has a higher count than a simple one, and that count is the biggest driver of what a logo costs to stitch — more thread and more machine time. It's also why simplifying a busy logo can actually save you money, not just improve the look.
Fabric matters more than people expect. Smooth, stable materials — cotton, twill, canvas, most polos and caps — take embroidery beautifully. Stretchy performance fabrics and thin knits are trickier and need the right backing and a lighter hand. Some ultra-thin or slick materials we'll steer you away from for embroidery and toward a print instead, which brings us to the honest question everyone should ask.
Where the logo goes: sizing and placement
Placement decides how big your logo should be, and getting it right is half the battle. A few standard spots and roughly the sizes they call for:
A left-chest logo — the classic spot on a polo, button-up, or jacket — usually runs about 3.5" to 4" wide. A cap front is smaller, around 2" to 2.5" tall, since there's a seam and a curve to work with. A full back can go big, up to roughly 10"–12" wide. Sleeves, hoods, and cuffs are great for small accents. The point is that your logo may need slightly different treatment for each spot, and a wide logo that sings on a back can turn into a squished blob on a cap. We mock up placement on your actual garment before anything gets stitched, so you approve exactly what you'll get.
Common mistakes that ruin an embroidered logo
Now that you know how it all fits together, here's what actually goes wrong — because when embroidery looks cheap, it's almost never the machine. It's one of these:
Cramming in too much detail. The single most common miss. A logo built for a business card has fine lines and tiny text that thread simply can't hold, so it comes out as a blur. The fix is simplifying on the way to the needle — and it's better to decide that on purpose than to find out on 50 shirts.
Text that's too small. Taglines and phone numbers under a logo love to sneak below that quarter-inch floor and turn to mush. If it has to be tiny, it usually has to go — or the whole logo needs to run bigger.
Cheap or skipped digitizing. Auto-digitizing software and rock-bottom setup fees are where puckered, gappy logos come from. Good digitizing is judgment, not a button, and it's the step worth paying attention to — it's a one-time cost that every future run rides on.
The wrong backing or fabric. Too little stabilizer, or embroidering a stretchy performance tee that really wanted a print, and you get a warped logo no file can save. Matching the backing to the fabric — and being honest when a garment isn't a good embroidery candidate — is half the job. When in doubt, we'll tell you before it's stitched, not after.
Embroidery vs. screen printing or DTF for a logo
Embroidery is our thing, but it isn't the answer for every logo — and we'd rather tell you that up front than sell you a stitch job that would've looked better as a print. Here's the honest breakdown.
Reach for embroidery when you want a premium, durable, textured look — polos, caps, quarter-zips, jackets, bags, and beanies. It's perfect for a clean left-chest logo and for anything that'll get worn hard and washed a lot, because thread outlasts almost everything. It's the gear that makes a team look sharp.
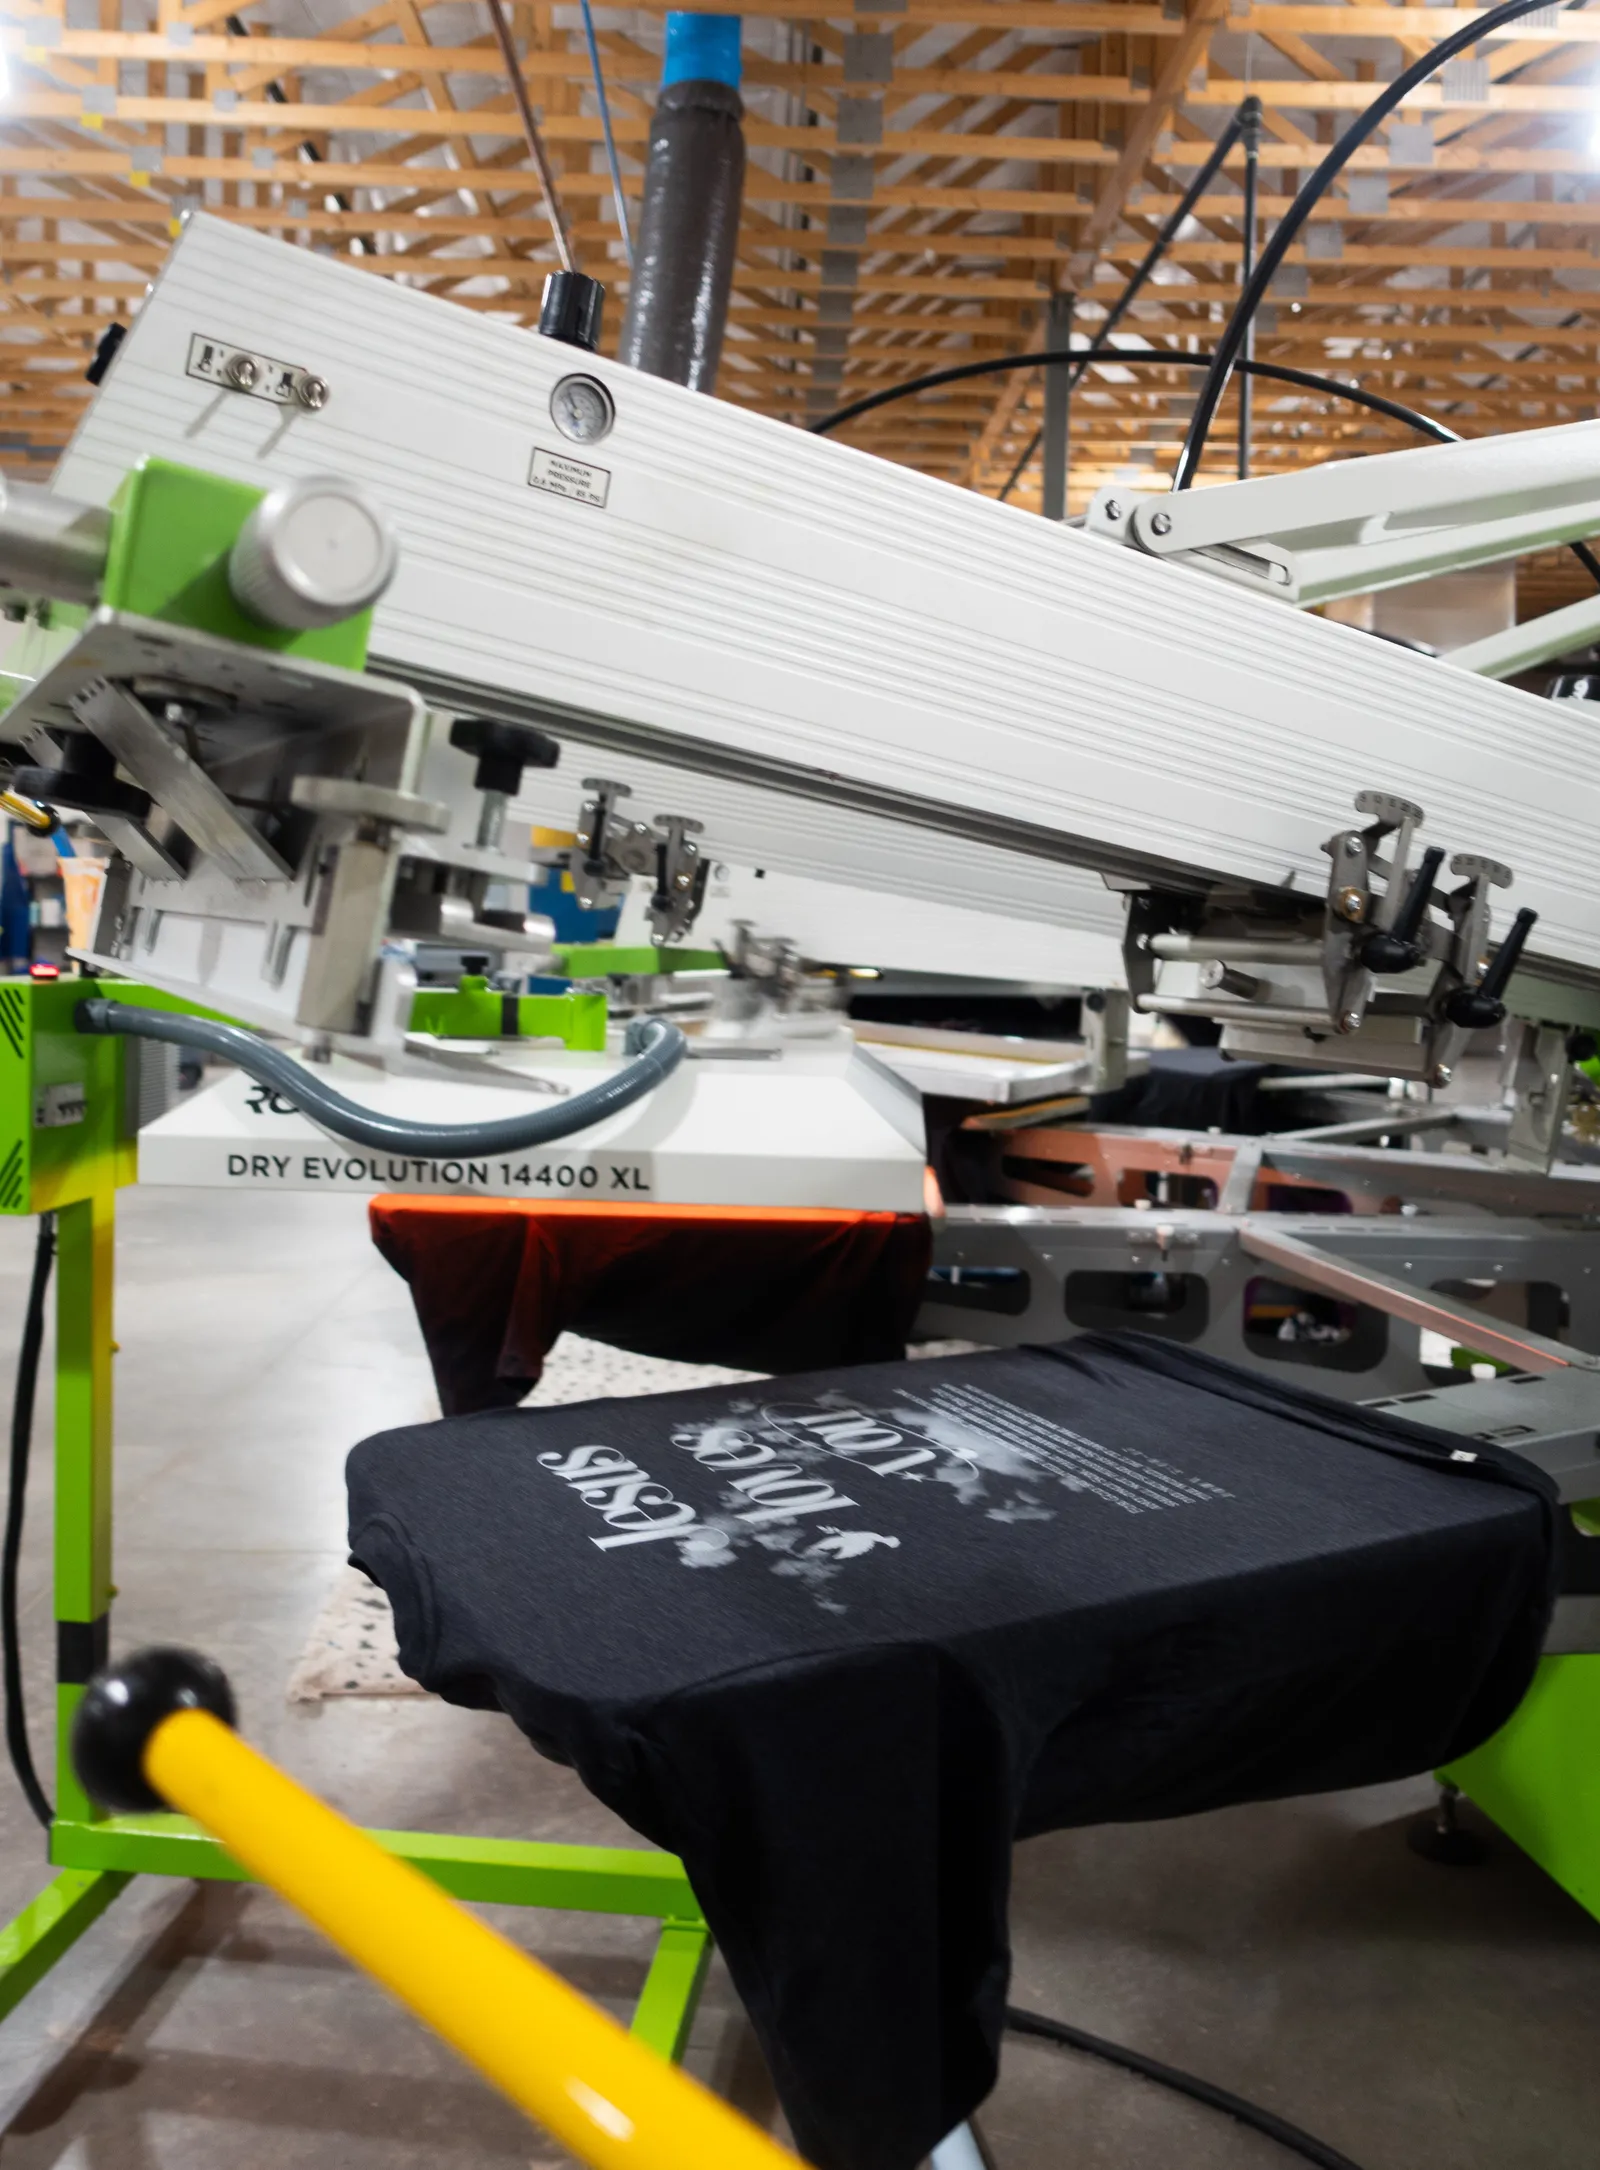
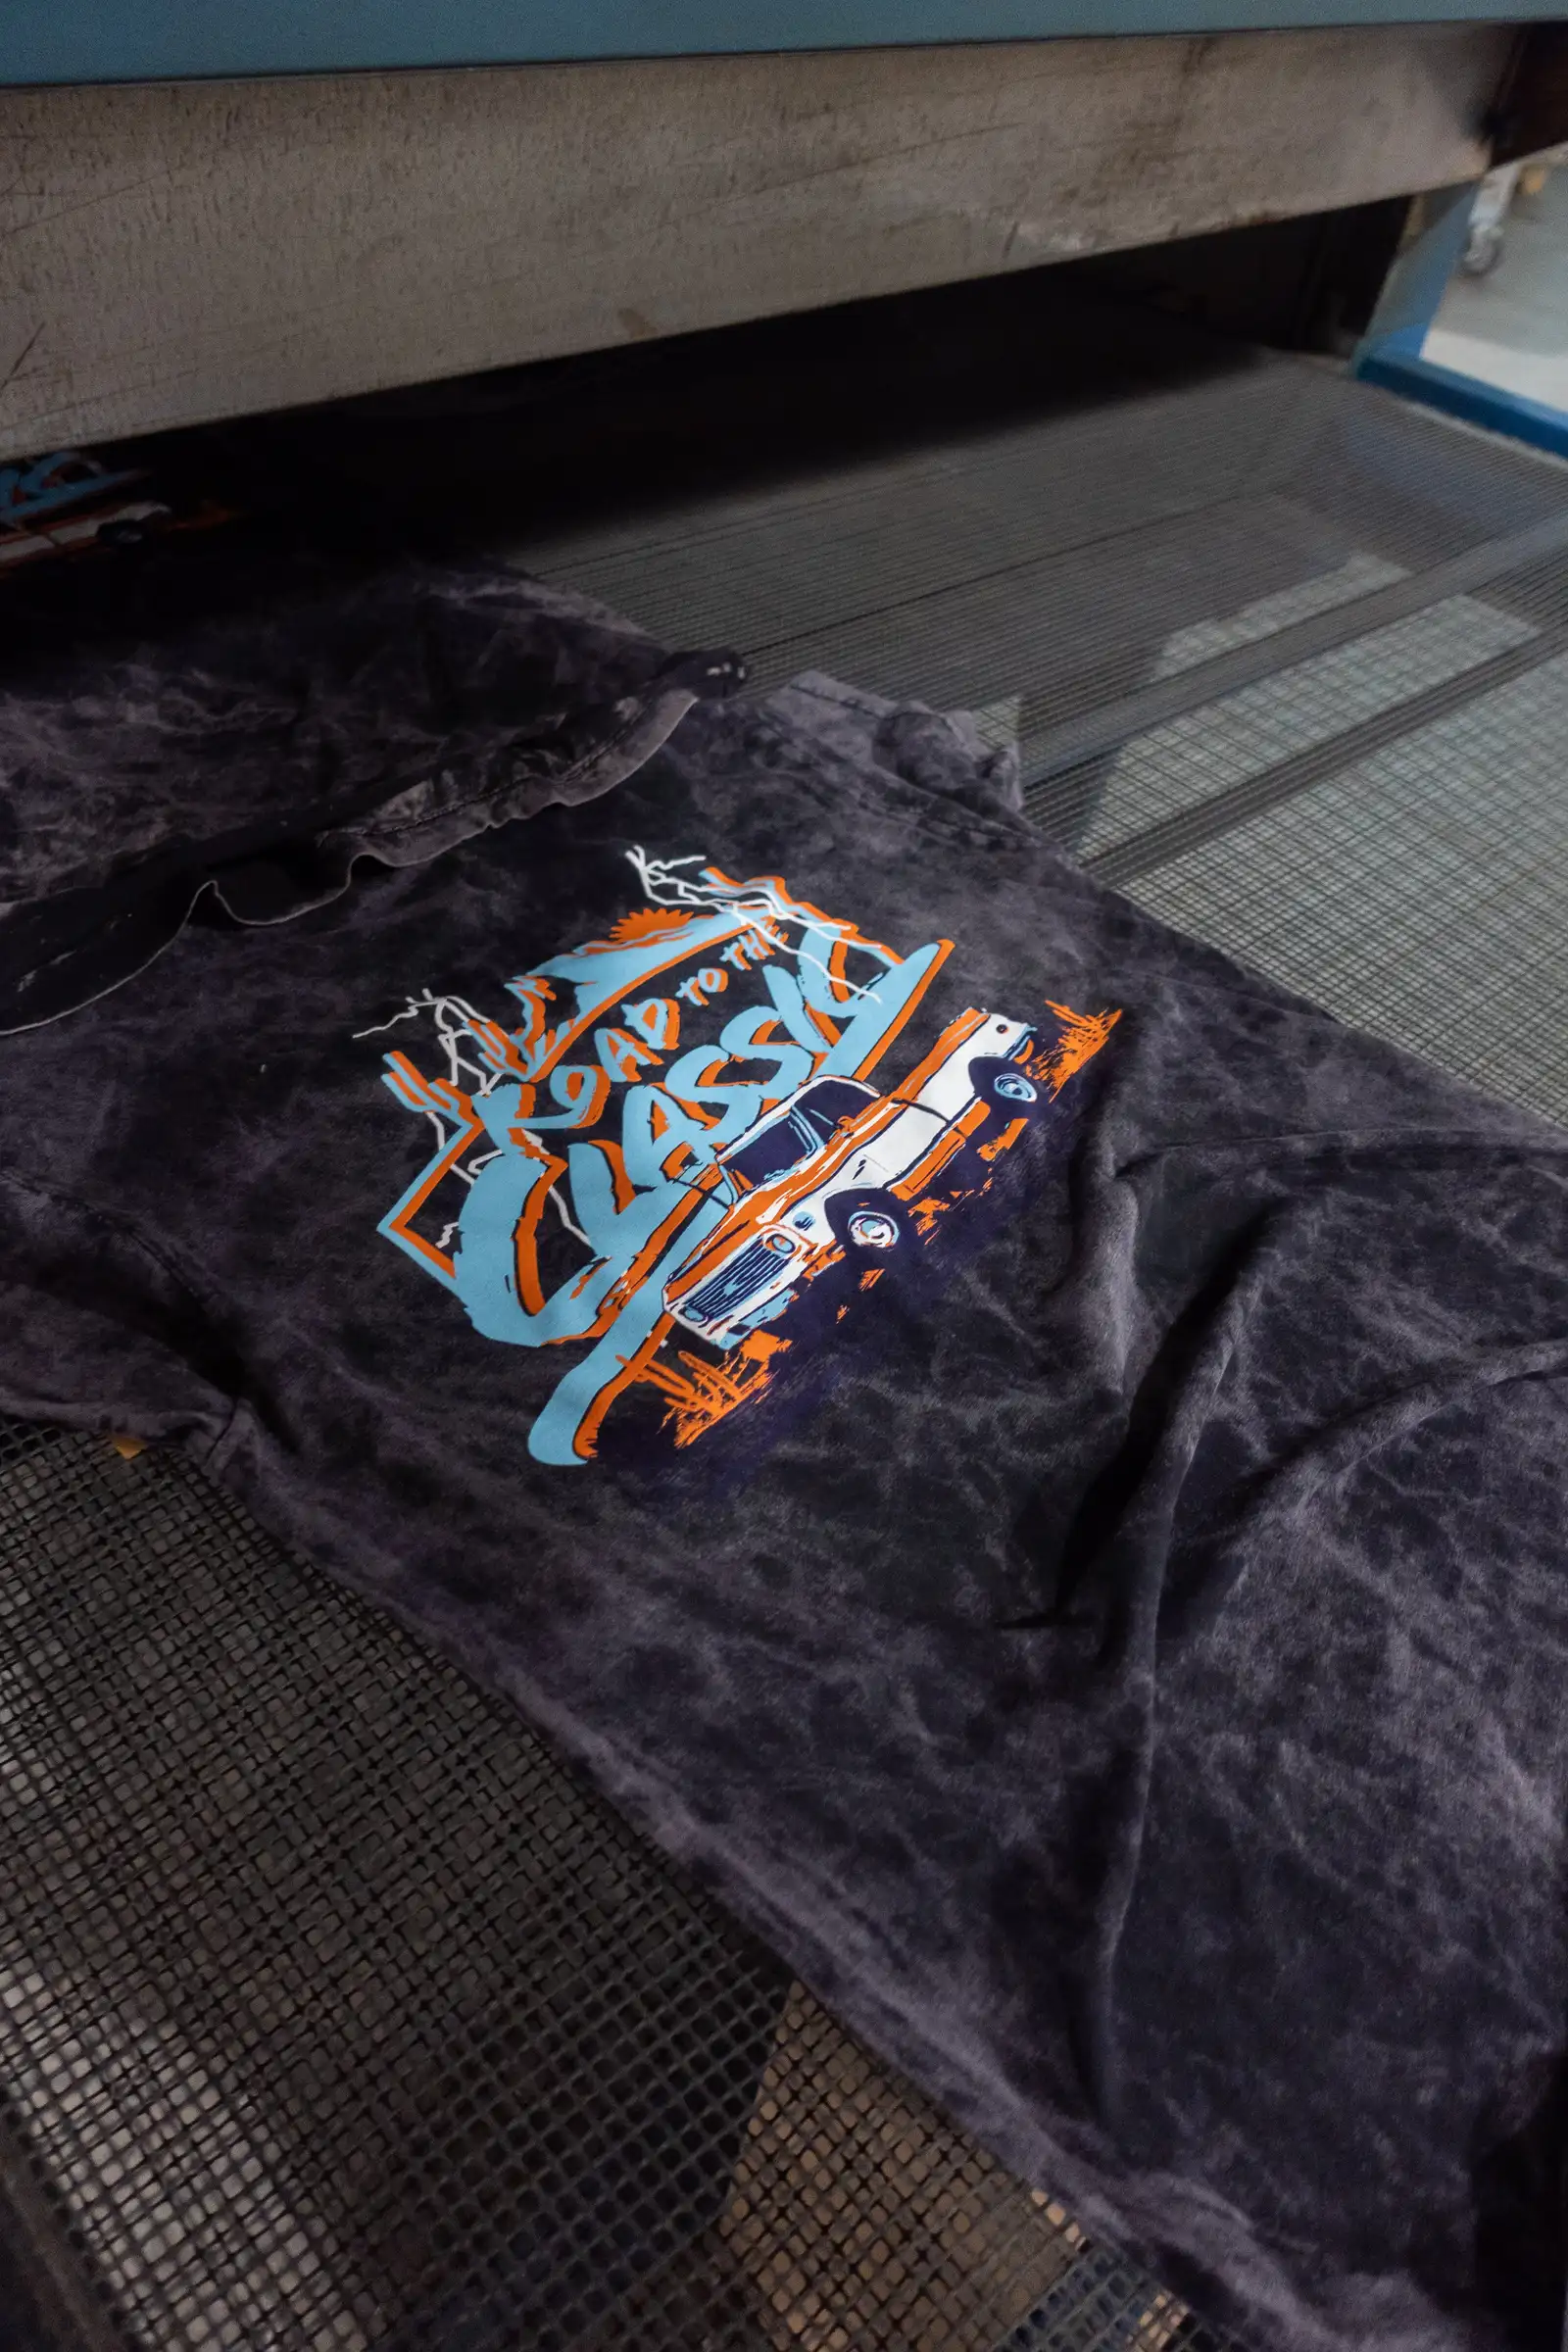
Reach for a print — screen printing or DTF — when your logo has fine detail, gradients, lots of colors, or needs to go big and full-color across the front or back of a lightweight tee. Print holds detail thread can't, and it's usually the lower cost per piece on big tee runs. If DTF is the smarter call for your logo, we'll say so, even though embroidery's the bigger ticket for us. The right method is the one that makes your logo look best, full stop.
Getting your logo embroidered with Heart & Hook
This is the part we know best. We run three commercial embroidery machines in our Mesa shop and stitch company logos onto embroidered shirts and polos, quarter-zips and jackets, caps and beanies, custom polos, work shirts, and bags — for businesses, churches, trade crews, and teams all over Arizona and shipped nationwide.
On minimums: a one-time embroidery run starts at 24 pieces, so a whole team or department is easy. Need to order in ones and twos as people get hired? We set you up with an online company store — your approved gear at a link, your logo already dialed in, no minimum — so anyone can grab their size on demand and it ships to them. It's the same setup we build for businesses outfitting their teams.
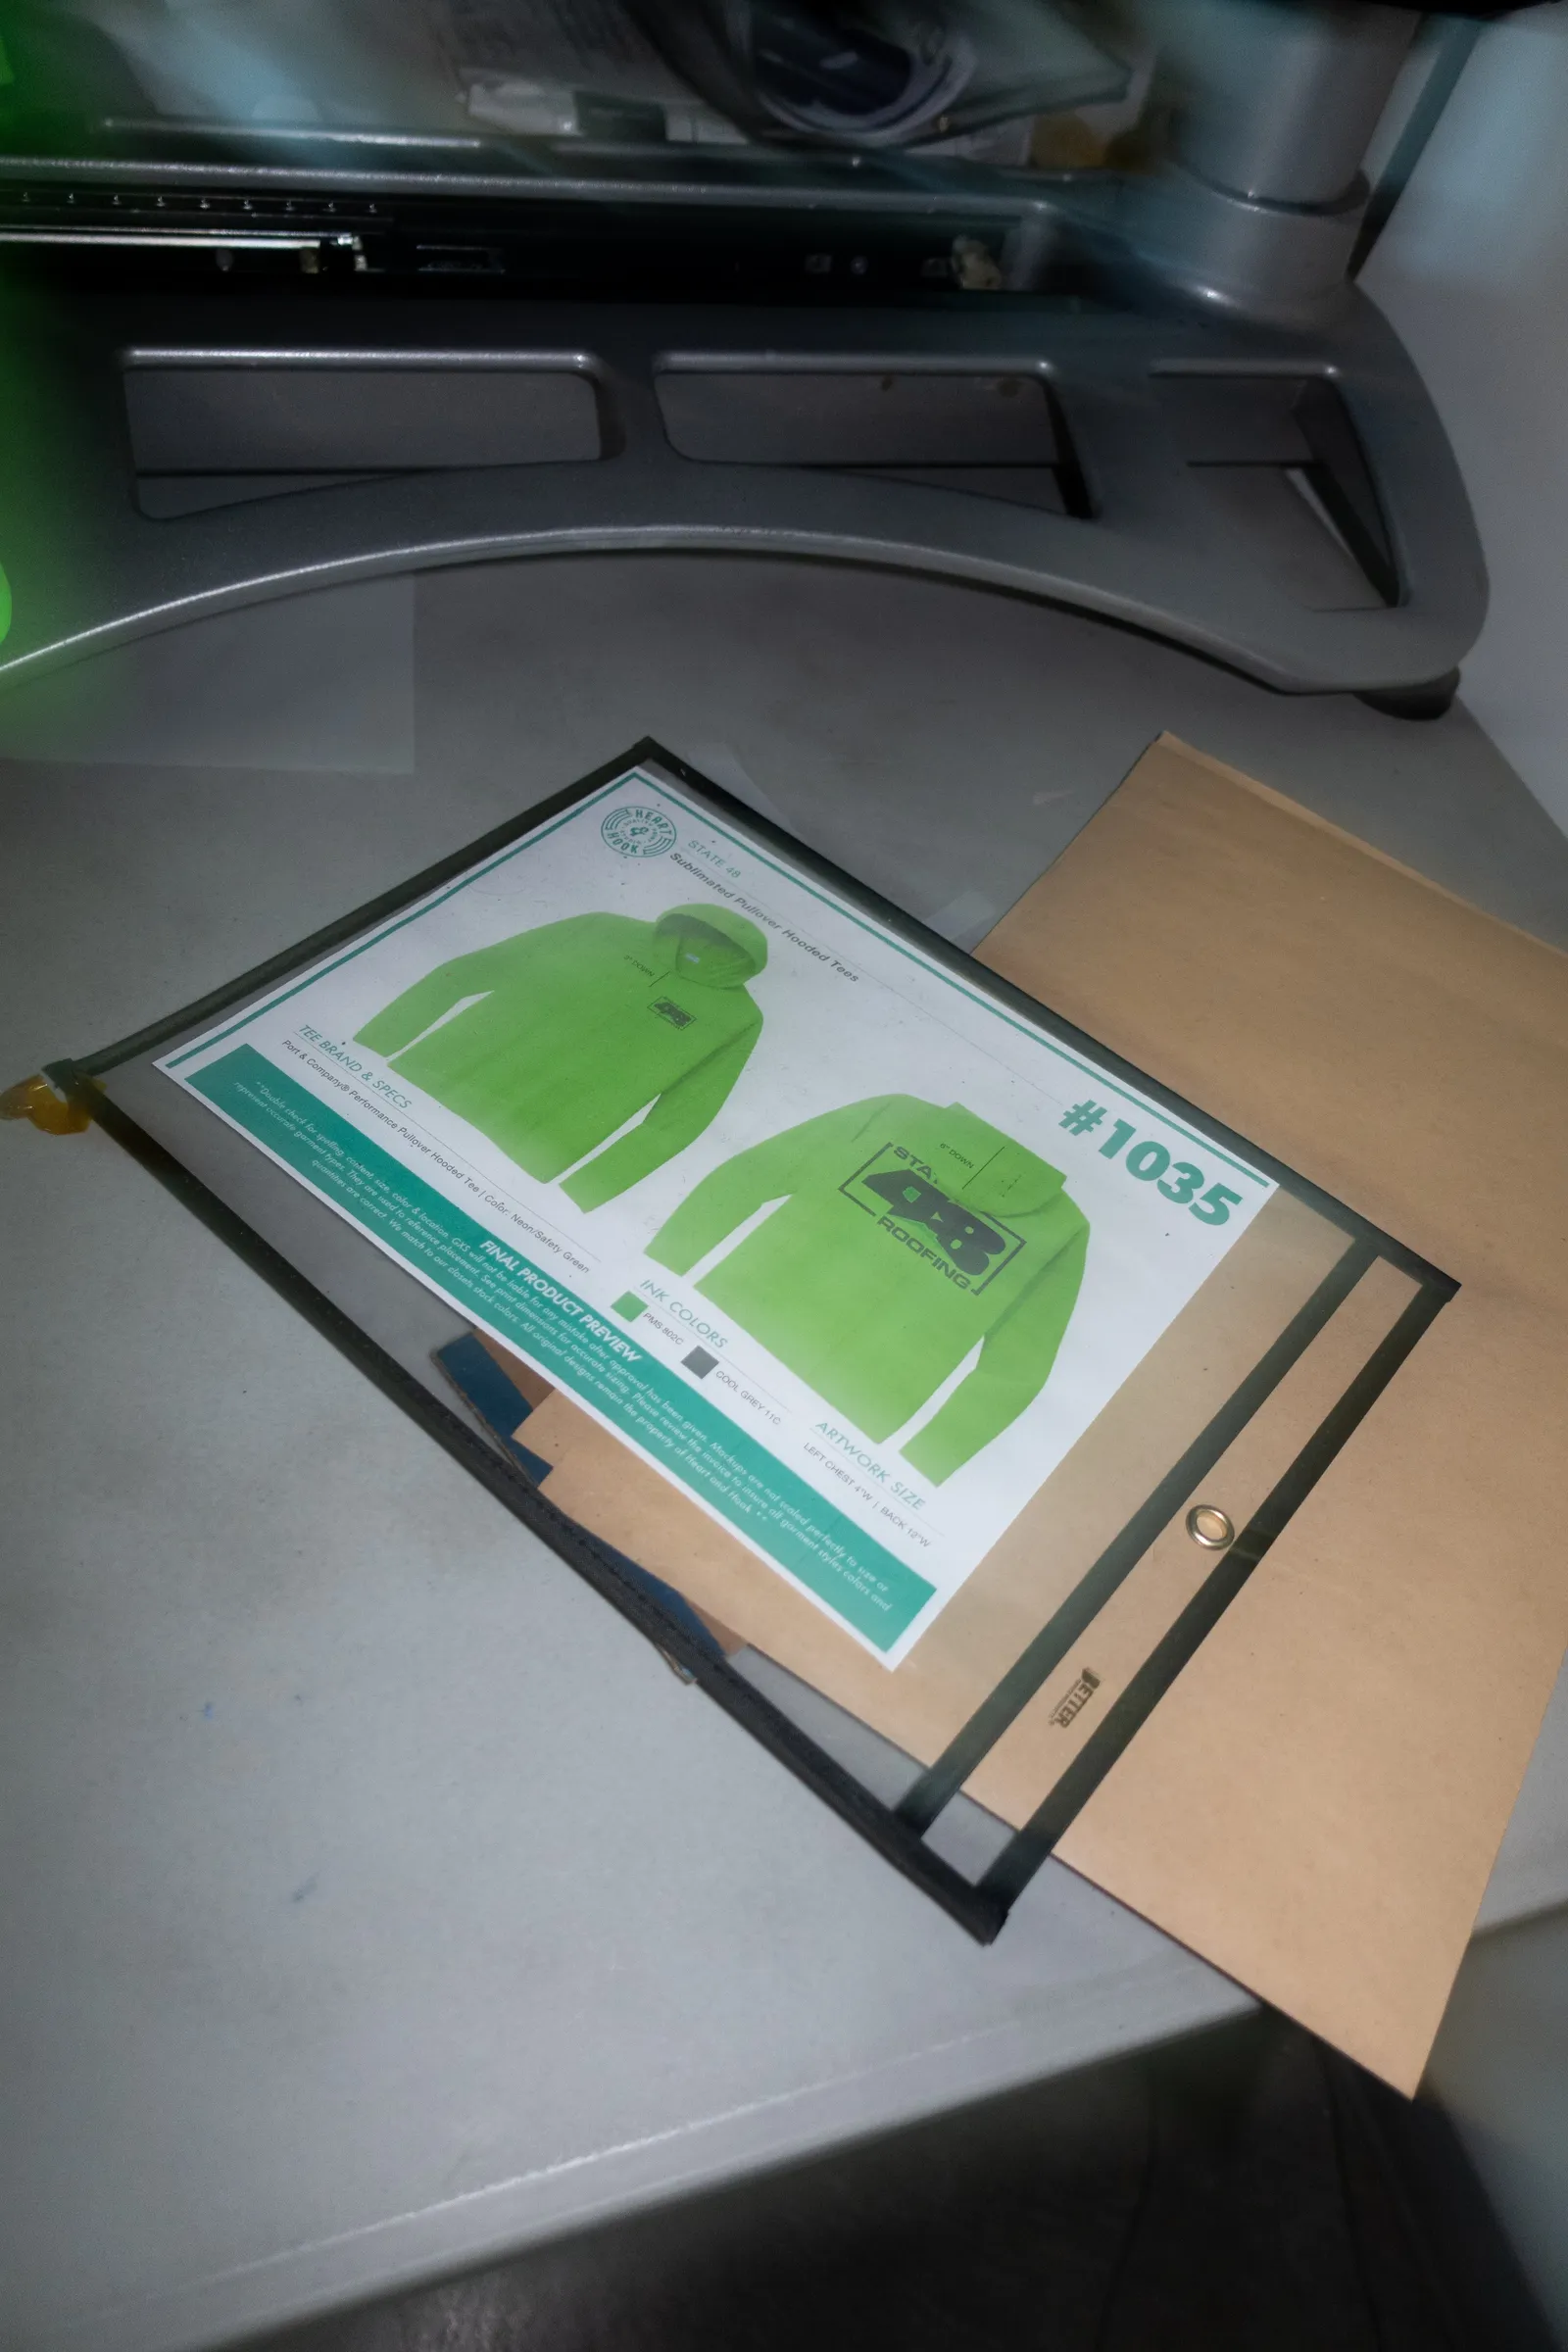
Send us your logo and what you're picturing, and we'll come back with a free digital mockup and a clear quote — placement, garment, and colors, so you approve exactly what you'll get. Just tell us what you've got in mind!
Frequently asked questions
- How do I turn my logo into an embroidery file?
- Your logo gets digitized — converted into a stitch file (usually a DST) that tells the machine the stitch path, direction, and density. It's done by a digitizer using software, not a simple image upload, and it's a one-time setup per design that we reuse for every reorder.
- How much does it cost to get a logo embroidered?
- Embroidery is priced mainly by stitch count (how many stitches your logo takes) plus a one-time digitizing setup for a new design — more stitches and colors cost more. Simplifying a busy logo can lower both. Send us your logo and quantity and we'll give you a clear quote up front.
- What file format do I need for logo embroidery?
- Vector art is best — AI, EPS, or PDF — because it scales cleanly and digitizes well. A high-resolution PNG (300 DPI) works too. We convert your artwork into a machine format like DST. When in doubt, send the largest, sharpest version you have.
- What's the smallest text you can embroider?
- About a quarter-inch (¼") tall for letters. Anything smaller tends to blur because the needle can't hold the fine detail. For taglines or phone numbers, we'll often keep the main text crisp and enlarge or simplify the tiny line beneath it.
- Can any logo be embroidered?
- Most can, but logos with fine detail, thin lines, gradients, or lots of colors usually need simplifying to stitch cleanly — thread can't hold the detail ink can. We'll flag anything that won't translate well and show you the adjustments before it goes on a garment.
- Do you have a minimum order for logo embroidery?
- A one-time embroidery run starts at 24 pieces. If you'd rather order in small batches as you hire, we set up an online company store with your logo pre-loaded and no minimum, so your team can order their sizes on demand.
- Is embroidery or screen printing better for a logo?
- Embroidery is best for a premium, durable look on polos, caps, and jackets, and for clean solid logos. Screen printing or DTF is better for fine detail, gradients, large full-color designs, and lightweight tees, and is usually cheaper per piece on big runs. We'll recommend whichever makes your logo look best.
- Why does a logo need to be digitized, and does it happen every time?
- Digitizing turns your artwork into a stitch file the machine can read — it's required once per design. After that, your file is saved and reused for every reorder at no repeat setup, so the look stays identical run to run.
Got a project in mind?
Send us your idea and quantities — we'll come back with a free mockup and quote.
Get a free quote