3D puff embroidery is what gives a hat logo that raised, retail look. Here's how it's actually made, which designs hold up and which fall apart, the hat styles that work, what it costs versus flat embroidery — and when we'd talk you out of it.
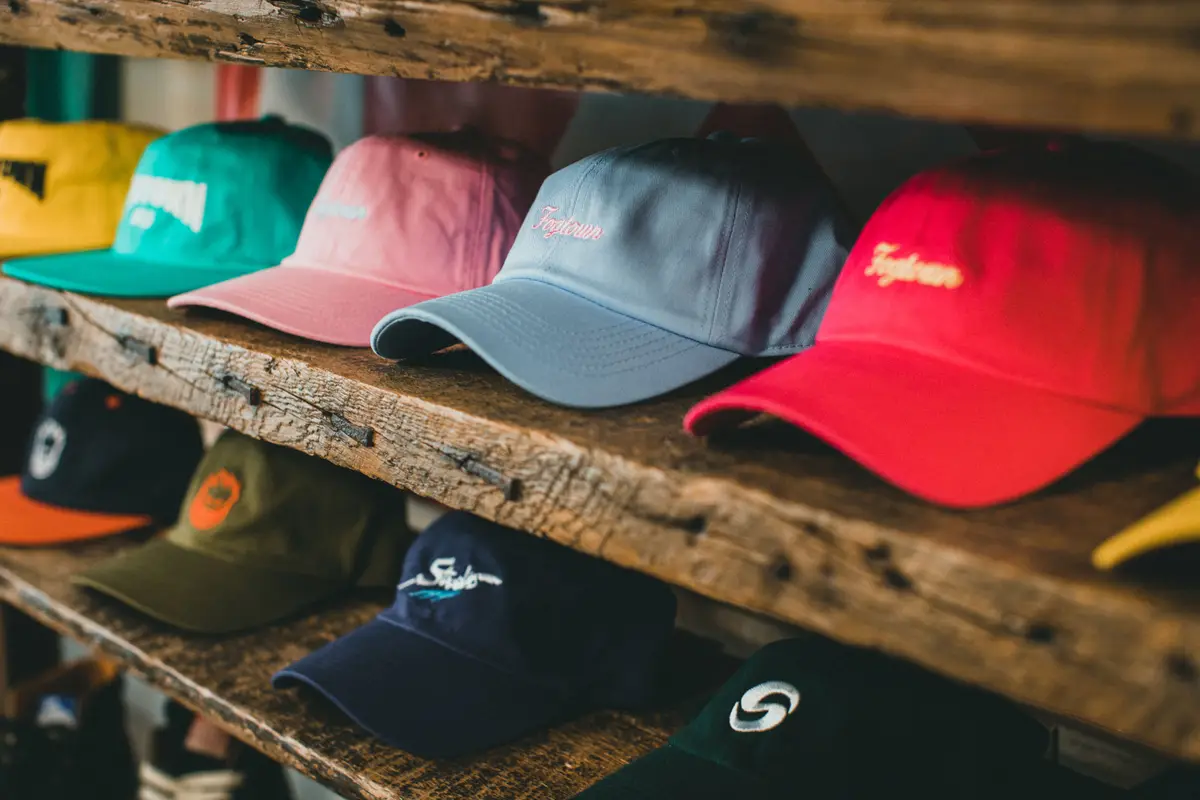
If you've picked up a hat lately where the letters stand proud off the front — sharp edges, a little shadow under them, the kind of thing you want to run a thumb across — that's puff embroidery. It's the single easiest way to make a cap look like it came off a retail shelf instead of out of a swag bin. (New to cap embroidery in general? Start with how to embroider a hat — placement, styles, and size limits — then come back here for the raised version.)
It's also the technique people most often ask for with a logo that won't survive it. So here's the honest version: how it's made, what it does well, and where it falls apart.
What is 3D puff embroidery?
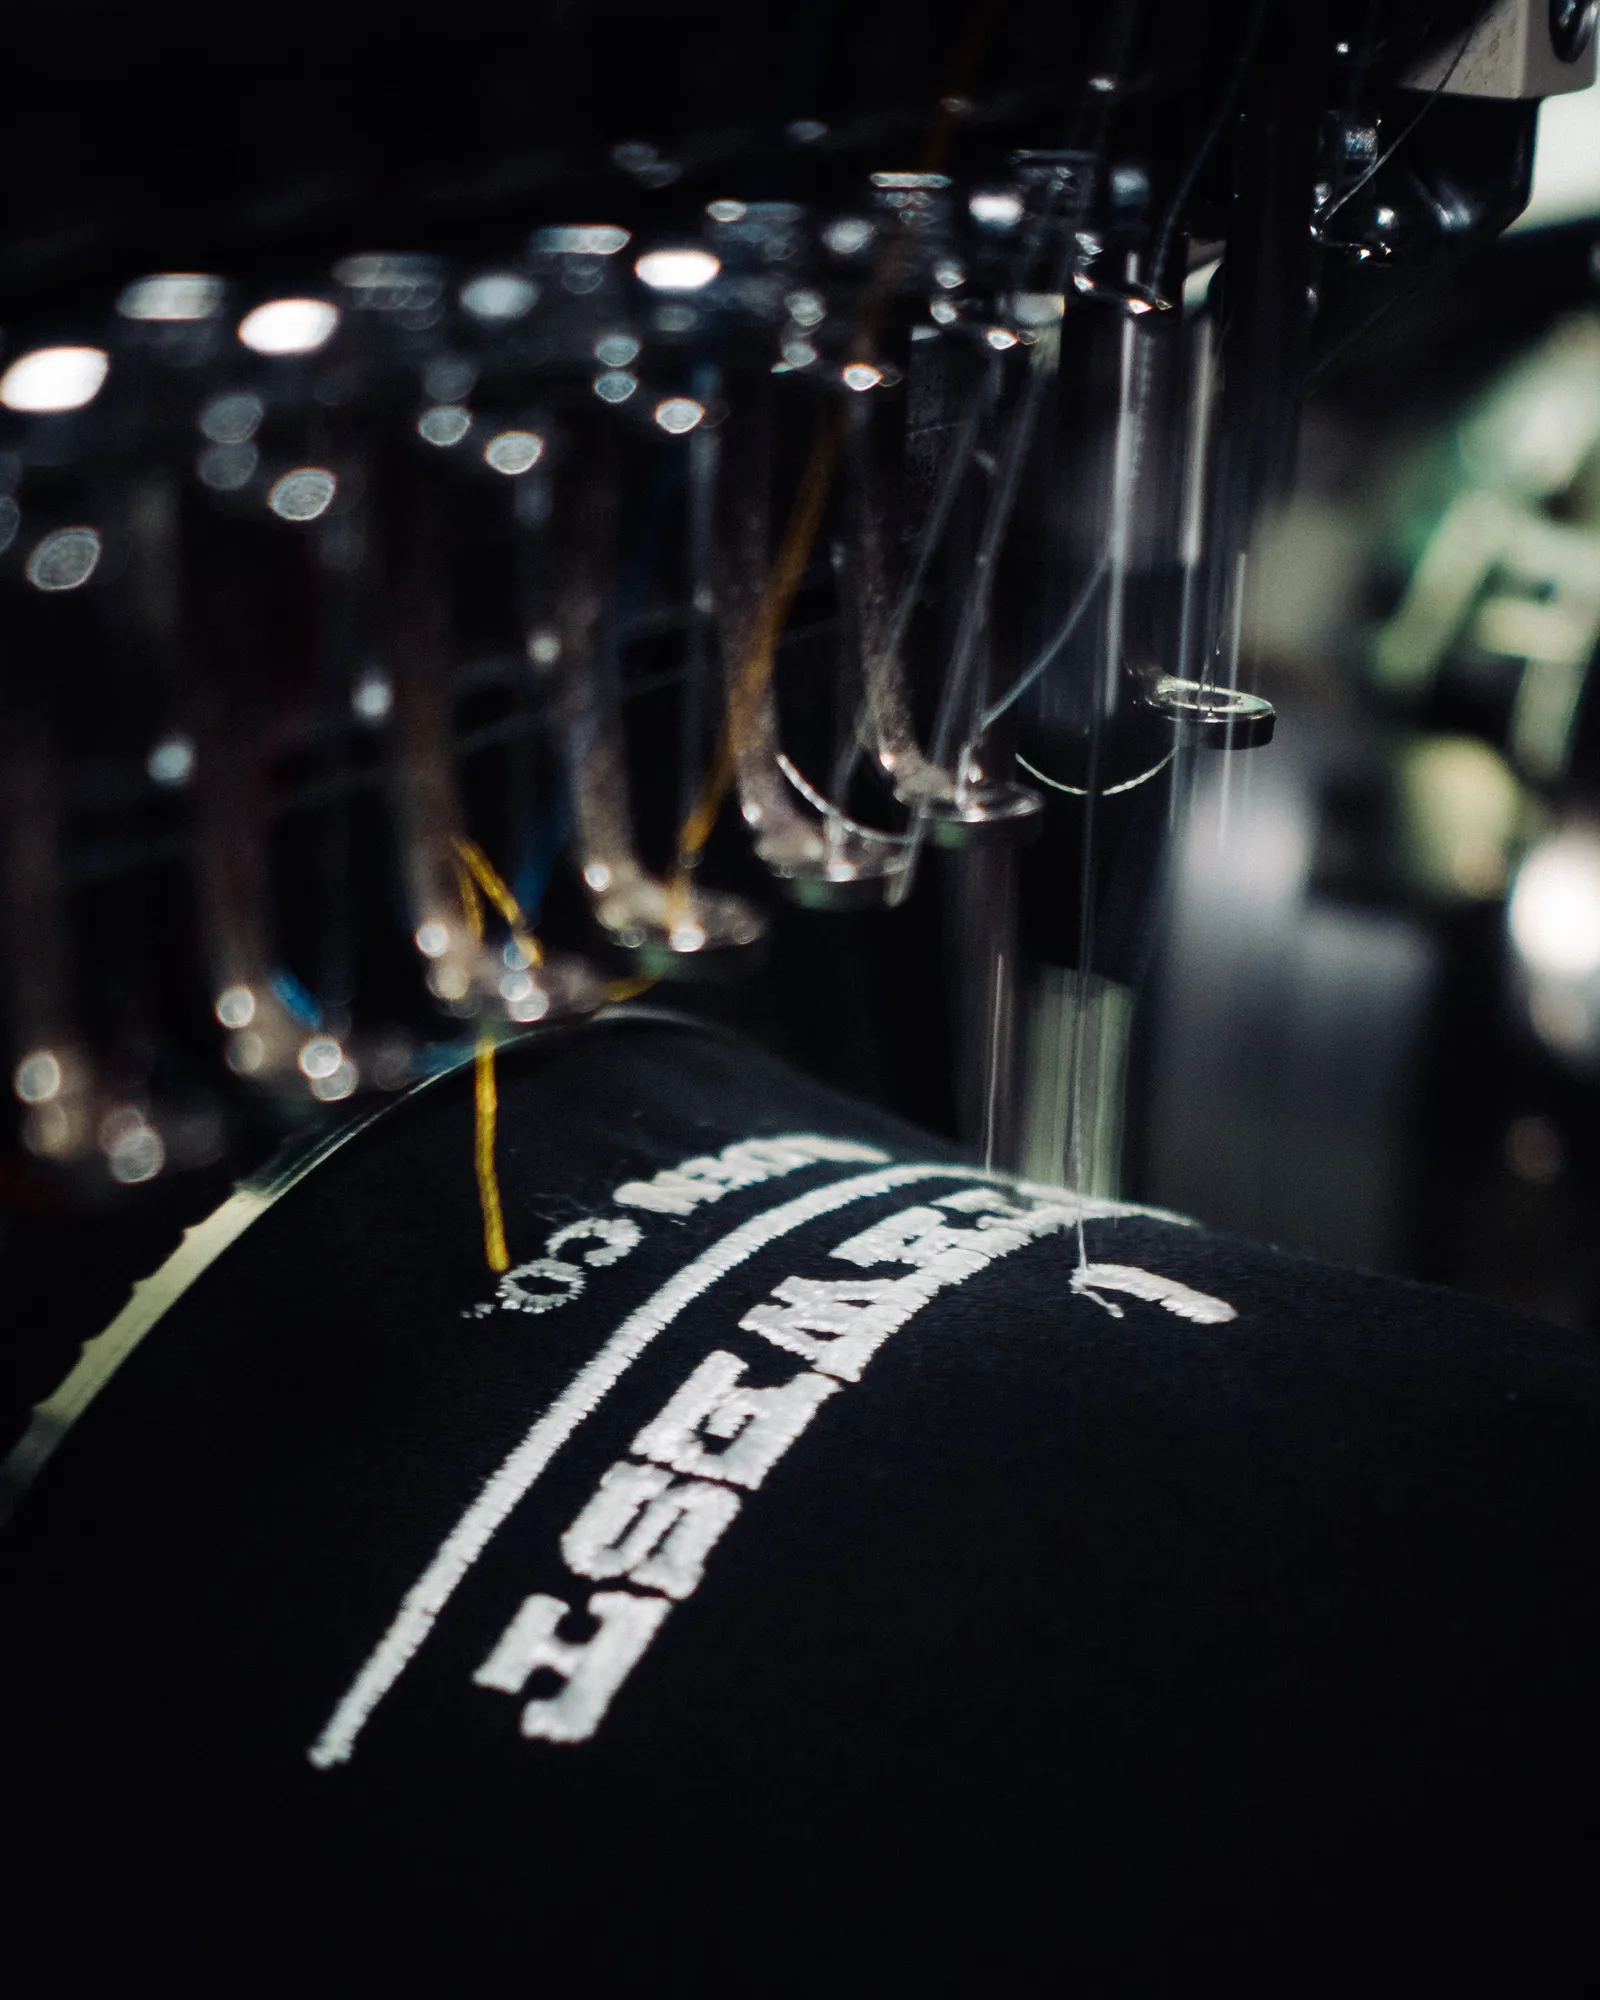
3D puff embroidery is a technique where a layer of foam is laid on the garment and stitched over, so the thread rises off the surface instead of lying flat. The satin stitches wrap the foam and seal its edges, the excess foam tears away, and what's left is a raised, sculpted logo — most often on the front panel of a structured cap.
You'll see it called 3D embroidery, puff embroidery, or foam embroidery. Same thing. It's standard on sports caps and trucker hats, and it's why those logos read from across a parking lot.
How it's actually made
The process is straightforward once you've seen it, and the order matters:
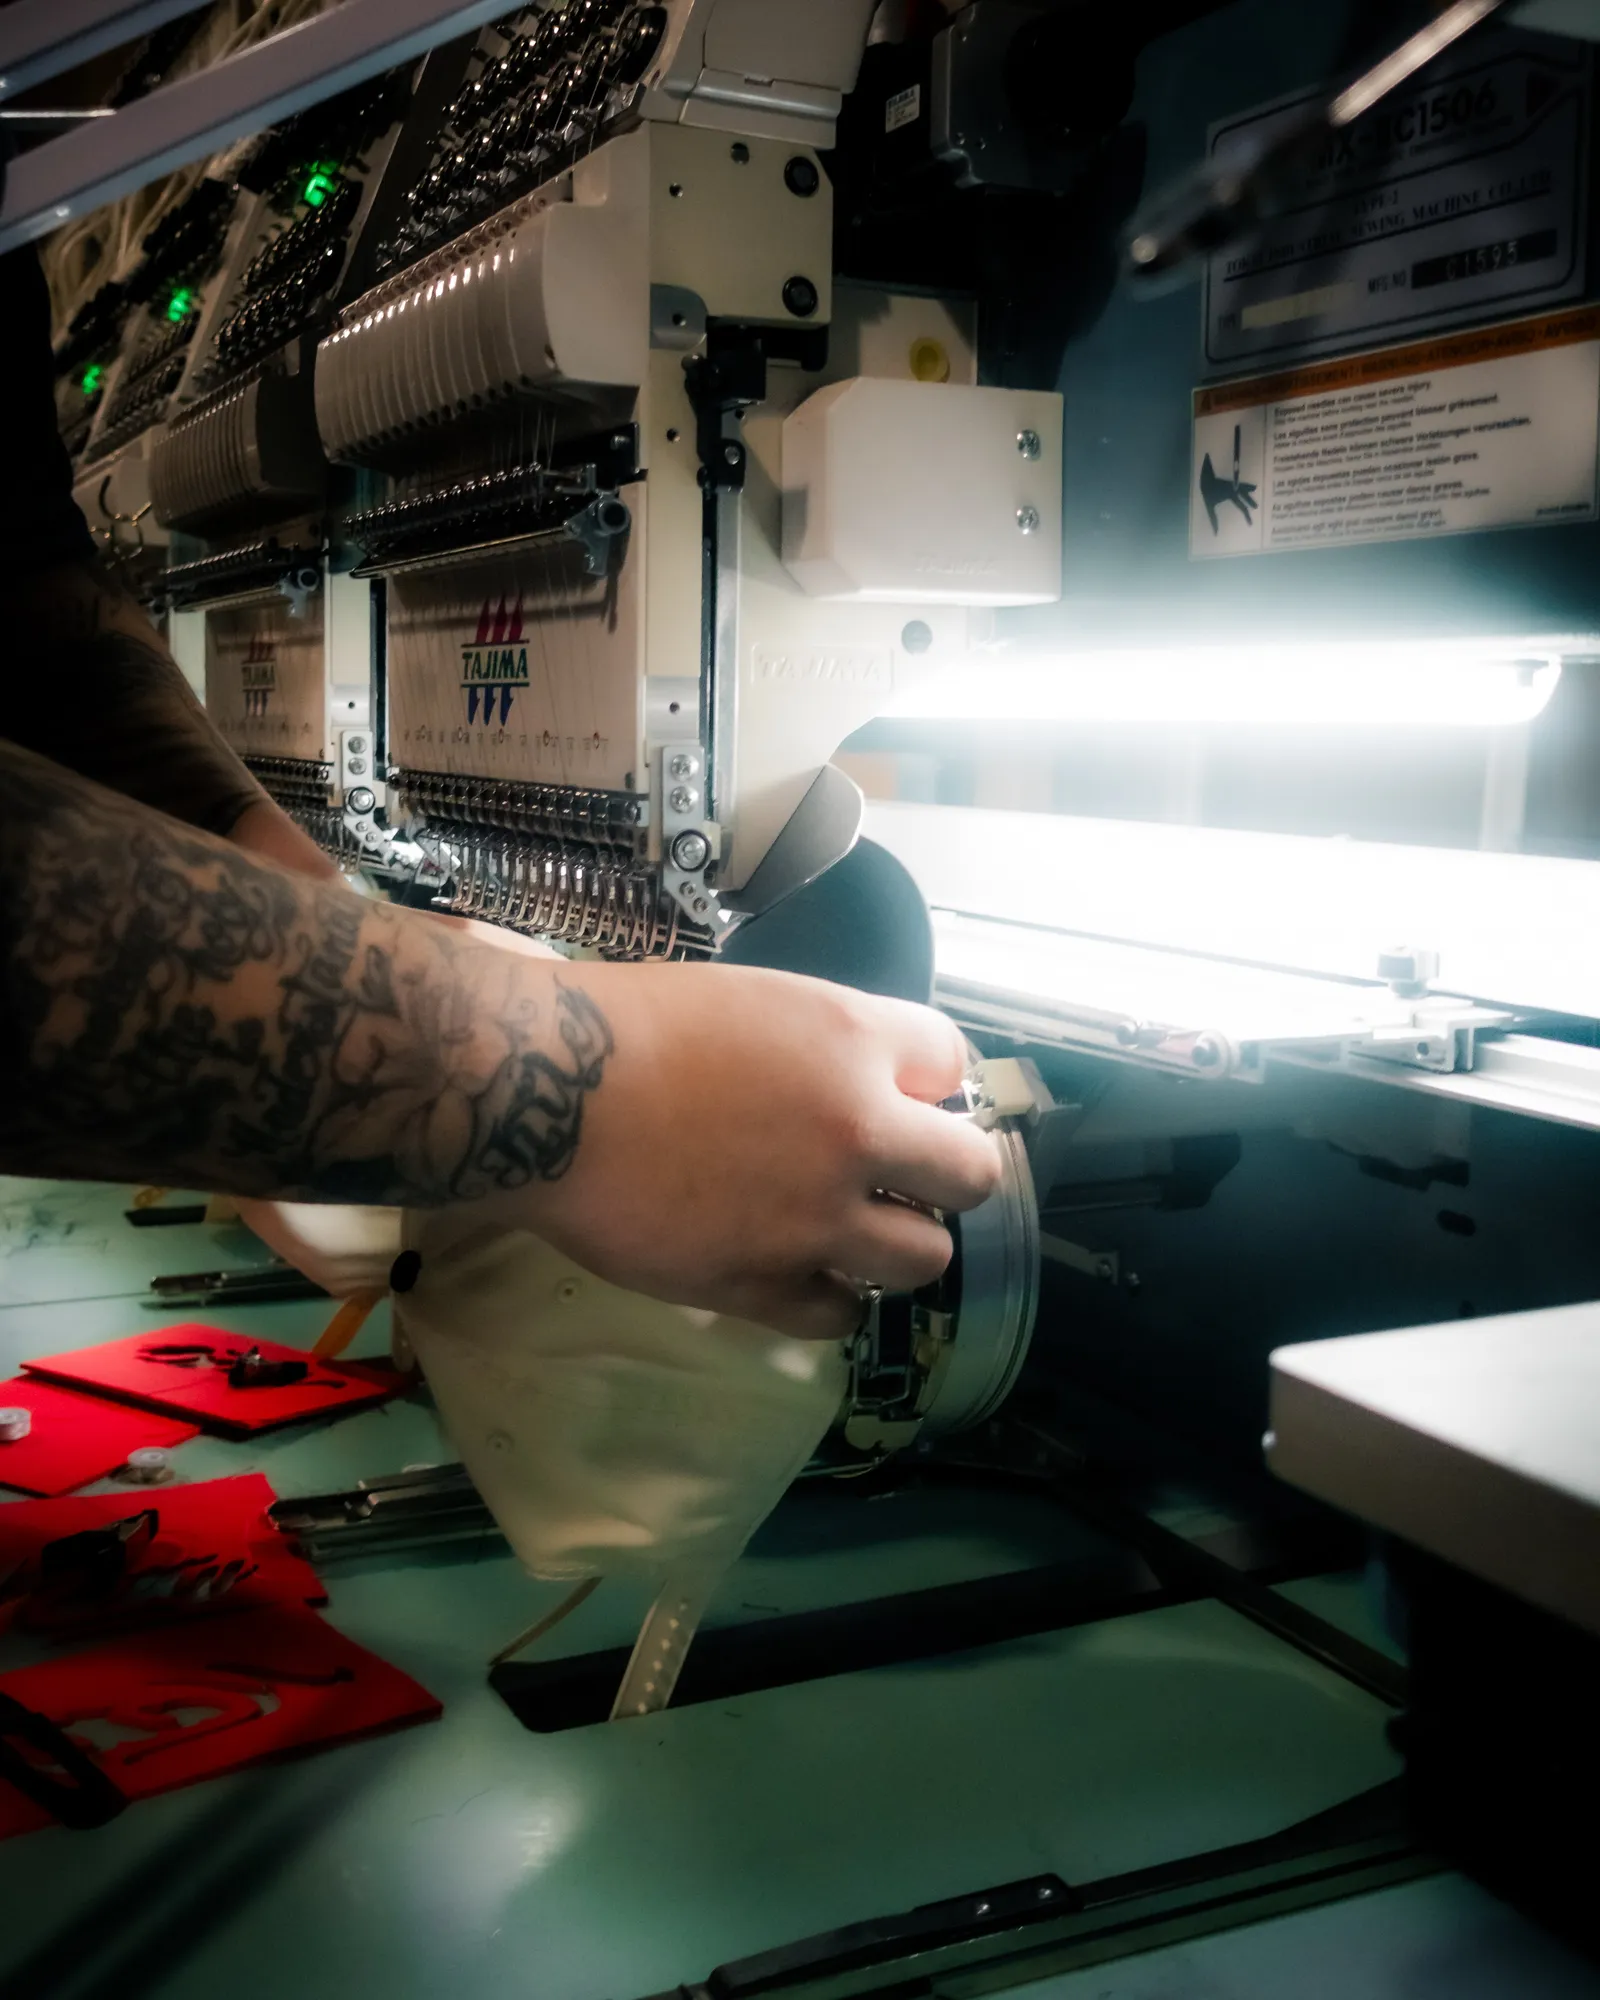
First, the flat parts run. Any element that isn't raised — an outline, a small tagline, a secondary mark — gets stitched first, while the surface is still flat and easy to register.
Then the foam goes down. A sheet of embroidery foam, usually 2mm or 3mm thick and color-matched to the thread, is laid over the area that's going to be raised. On a cap it gets tacked in place so it can't shift mid-run.
Then the puff elements stitch over it. These are dense satin stitches, digitized specifically to perforate the foam cleanly and seal it at every edge. The stitch density has to be higher than flat embroidery — if it's too loose, foam peeks through and the whole thing looks unfinished.
Then the excess tears away. The perforation from the needle means the surrounding foam pulls off cleanly. Any stubborn bits get a quick pass with a heat gun, which shrinks the stray foam back under the thread.
The reason this needs its own digitizing file is that a flat design simply doesn't work if you run it over foam. Stitch direction, density, and the sequence of the whole design all change. It's a different file, not a setting. Standard flat digitizing is covered in our logo embroidery guide.
Which designs work — and which don't
This is where most puff orders live or die, and it's worth being blunt about it.
Puff loves bold, simple, chunky shapes. Block letters. Thick sans-serif type. Simple monograms. A team name in a heavy varsity font. Anything with real width to it, where the satin stitch has room to wrap the foam and close cleanly.
Puff fights thin script, fine detail, and small text. A hairline stroke can't hold foam — there isn't enough width for the stitches to seal, so you get foam showing through and ragged edges. Same for tiny gaps between letters: they fill in and the word turns into a blob.
The rough working rule most decorators use is that puff elements want to be about 1/8 inch wide at minimum and around 1/4 to 1/2 inch at most. Below that there isn't enough stitch to seal the foam; much above it and the satin stitch gets long enough to snag, so wide areas usually get broken into sections.
There's also a size ceiling on a cap front — commonly around 4.5 inches wide by 2.25 inches tall, since that's the usable area on a structured front panel before you run into the seam and the curve.
Flat, puff, or a mix?
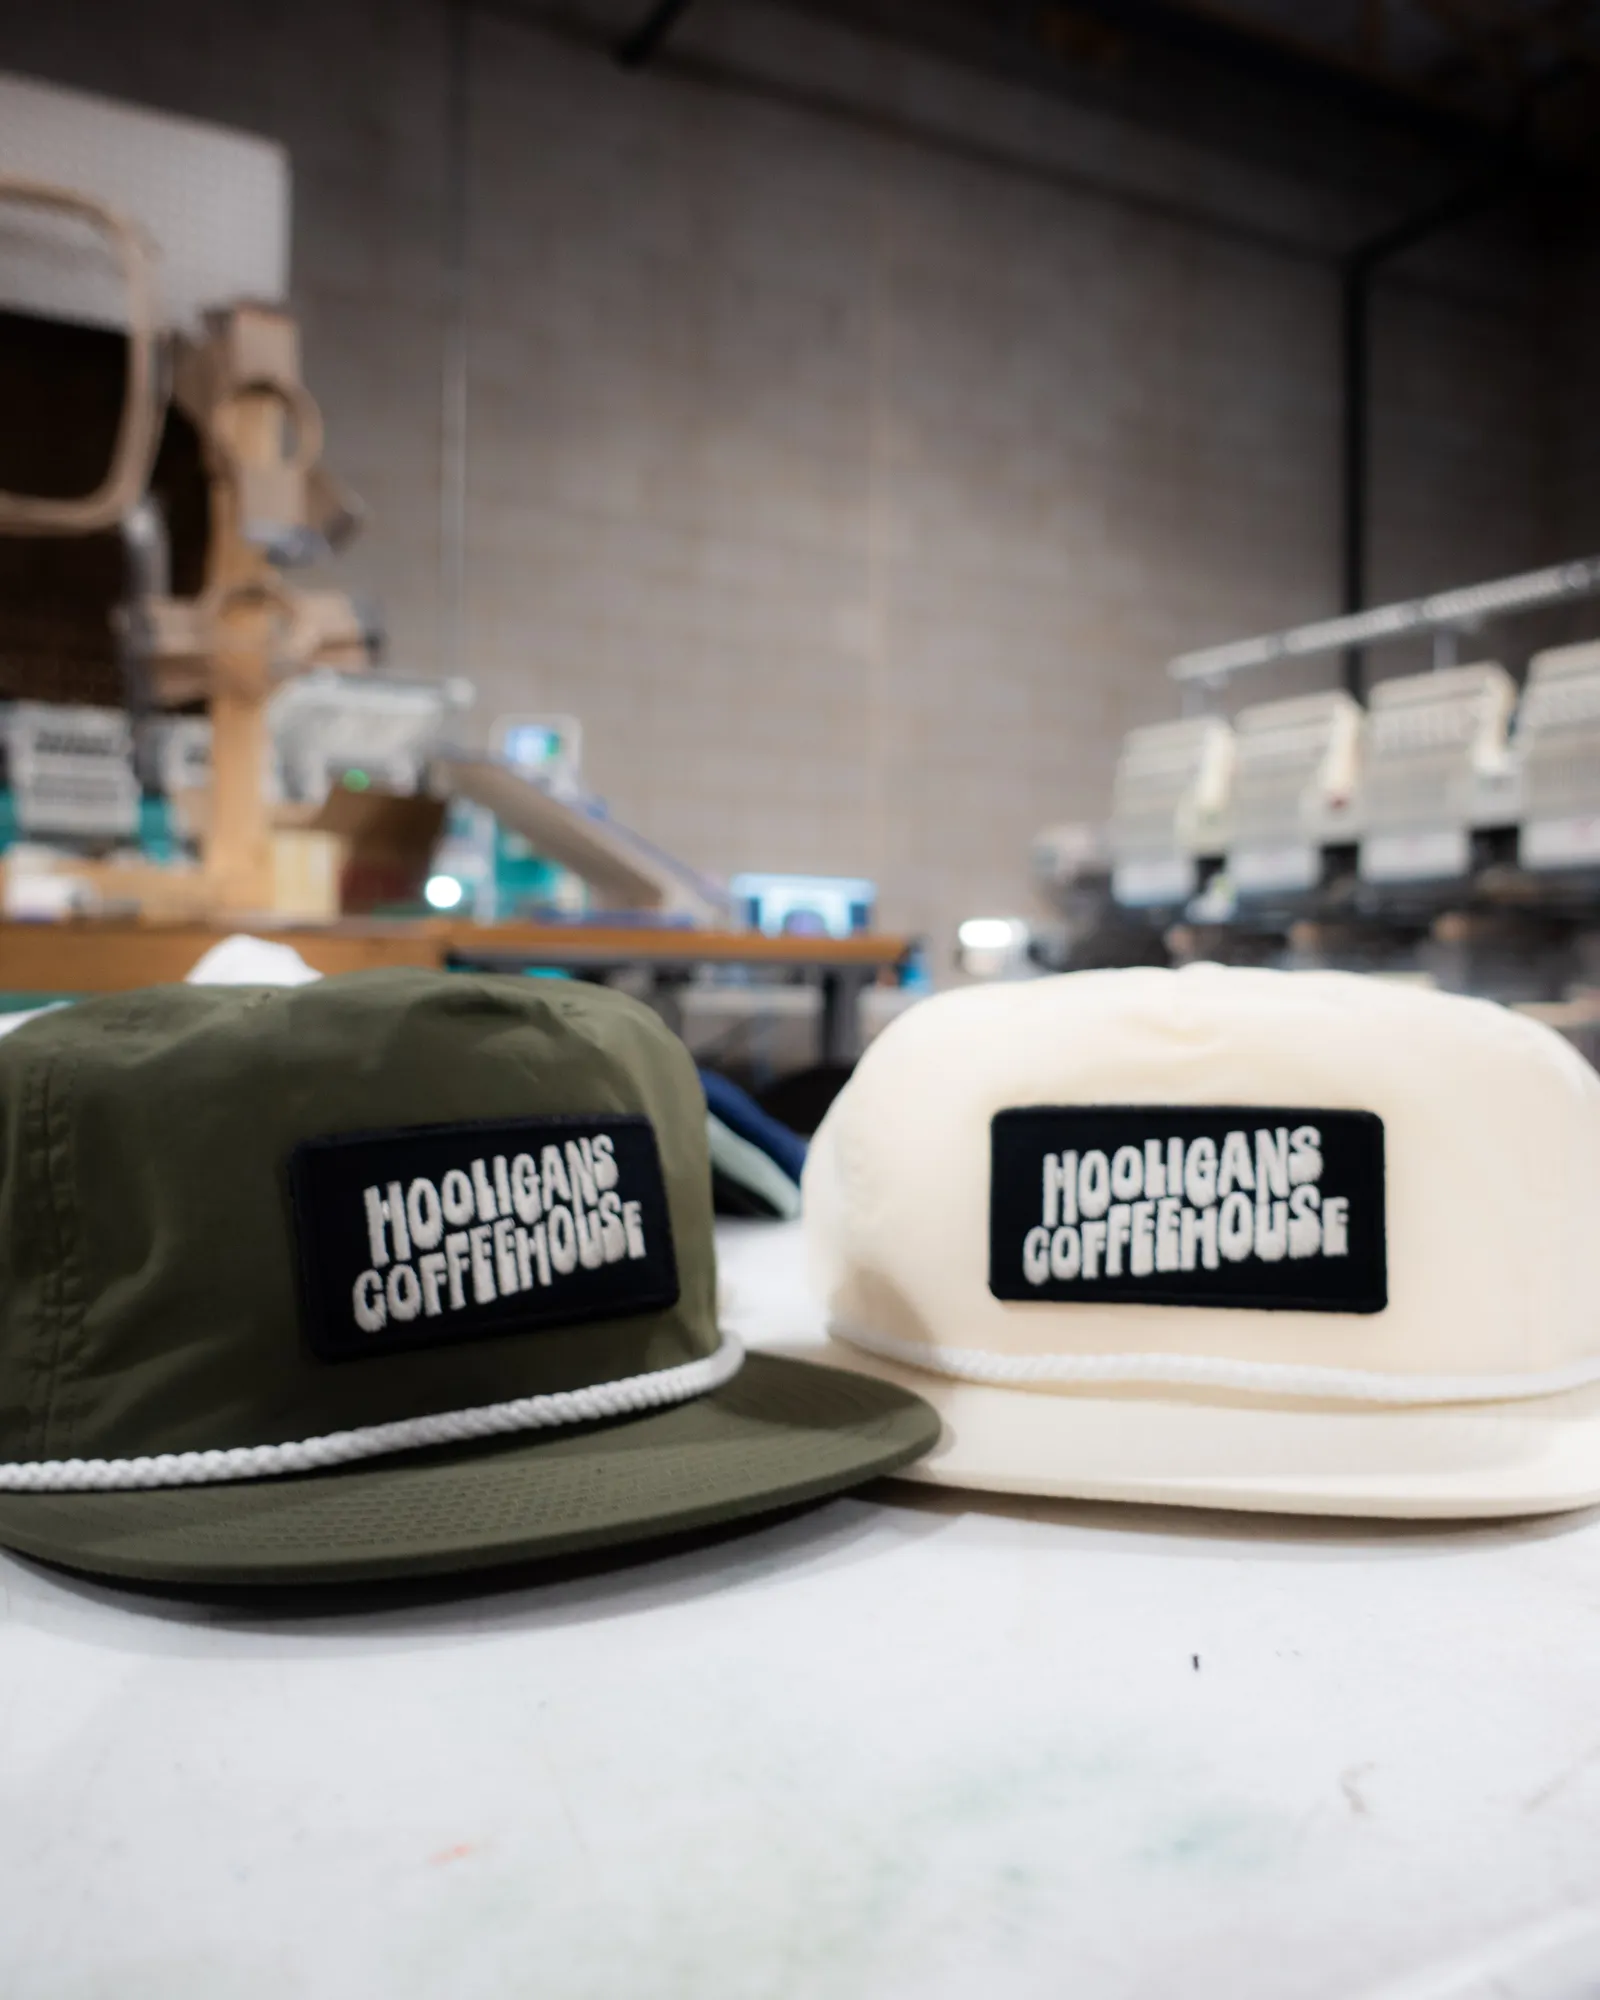
You don't have to pick one for the whole design. The most common setup on a good cap is a puff main element with flat supporting detail — the company name raised, a smaller tagline or est. date stitched flat underneath. That contrast is what makes the raised part read as deliberate.
Worth knowing: some decorators and print-on-demand services won't mix flat and puff in the same area, so if you've been told it's not possible, that's a limit of that shop's setup rather than of the technique. We handle it as one file with both treatments.
Go flat when your logo has thin lines, small text, a lot of fine detail, or gradients — or when the piece is a polo or a dress shirt, where raised lettering reads as loud rather than premium.
Go puff when it's a cap, the mark is bold, and you want it to look like retail merch rather than a uniform. If you want the premium look but your logo is too detailed for foam, custom leather patch hats get you there a different way and handle detail far better.
Which hats hold puff
The hat matters as much as the artwork, and this is the part people skip.
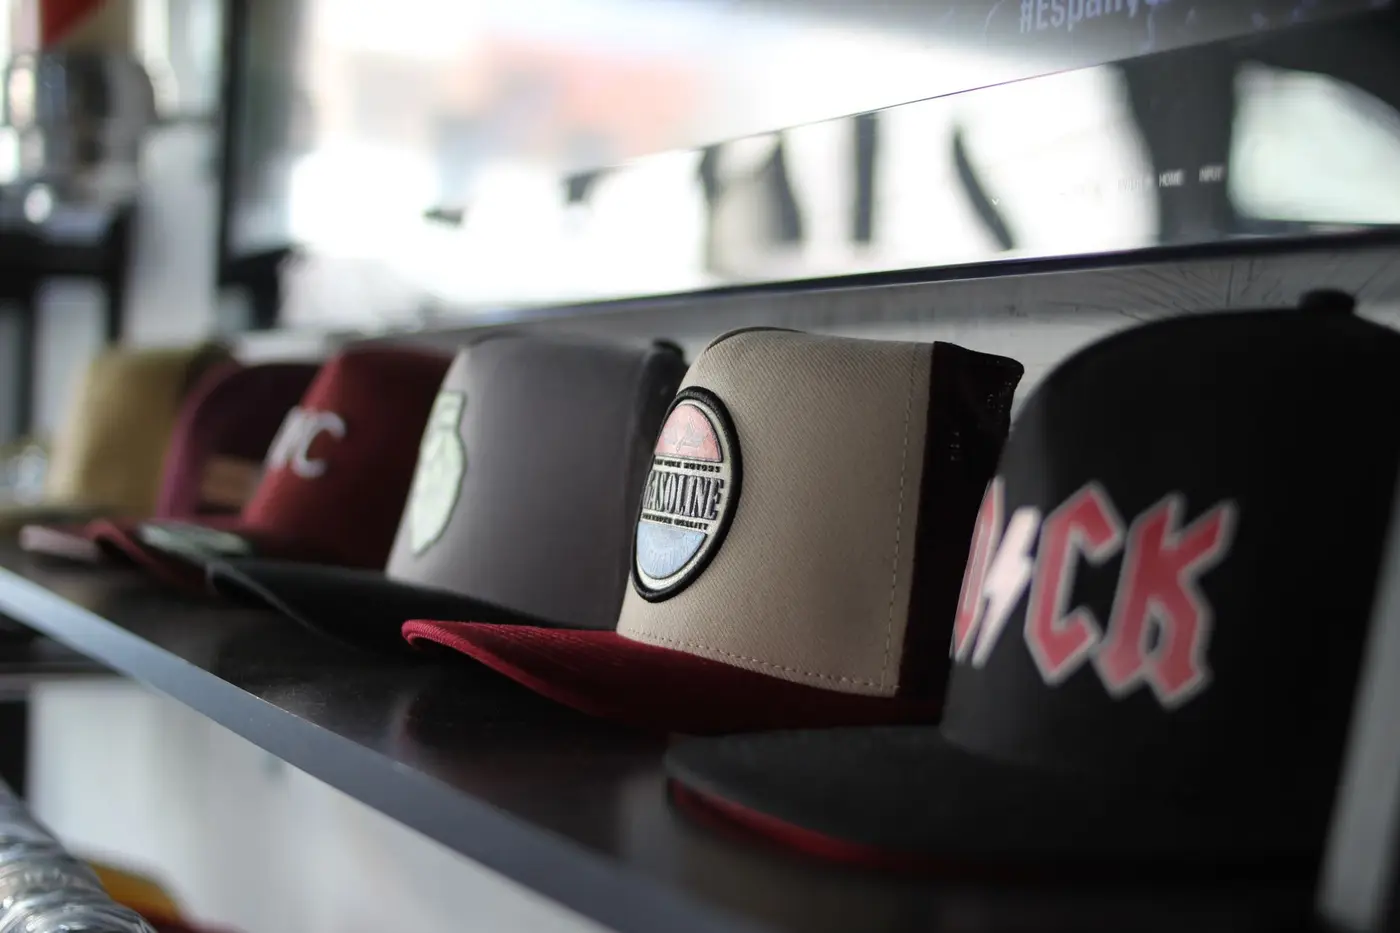
Structured caps are the right answer — the buckram front panel gives the foam a firm, flat surface to sit against, so the shape stays crisp. Snapbacks, structured trucker caps, and fitted styles all take puff beautifully.
Unstructured and dad caps are a gamble. The soft front panel collapses slightly under the foam, so the raised effect flattens and the edges can look rumpled. We'll usually steer you to a structured style, or to flat embroidery on the dad cap you actually wanted.
Beanies work, on a folded cuff, and look great. Polos, tees, and hoodies technically work but we rarely recommend them — the raised stitching takes a beating in the wash on a garment that gets laundered constantly, and it doesn't have the firm backing a cap gives it. On apparel, flat holds up better and looks more grown-up.
What puff embroidery costs
Puff runs a little more than flat embroidery, and the reason is honest: the stitch density is higher, so there are more stitches, and embroidery is priced by stitch count. There's also the foam itself and a bit more handling on each piece.
We charge for puff as an add-on, and so does everyone else — but in practice the upcharge is small, commonly in the range of $2 to $4 more per hat than the same logo stitched flat. The bigger cost variable is still the cap you choose and the size of the design, not the puff itself.
Two things worth asking any shop: whether they charge separately to digitize the puff version (it's a different file from your flat logo, so some shops bill it again — ours is included on store and qualifying bulk orders), and whether production takes longer. It usually does, by a bit, because the foam step doesn't run unattended the way flat embroidery does.
The mistakes we see most
Sending a flat logo and expecting it to translate. The most common one. A logo that looks great stitched flat on a polo often needs real simplification to work in foam — and that's a conversation worth having before the order, not after.
Puff on an unstructured cap. Covered above, but it's the disappointment we see most often when someone brings us a sample from elsewhere.
Too much detail kept in. If you're attached to the tagline, put it in flat stitching under the puff element. Don't try to raise it.
Skipping the sew-out. Puff is one of the techniques where a physical test on the actual cap is genuinely worth the day it costs. Foam behaves differently on different fabrics, and seeing it beats approving a render.
Ordering puff hats
Send us your logo and tell us the cap style you have in mind — we'll tell you straight whether it'll work in puff, what we'd simplify to make it sharp, and what it'll run. If it's not a good fit for foam, we'll say so and show you the flat or leather patch version instead rather than taking the order and hoping.
Everything's stitched on our own machines in Mesa, so if the first sew-out isn't right we adjust it ourselves. A one-time run starts at 24 pieces; through an online store there's no minimum at all. Have a look at our embroidered hats for the full lineup, or send the logo over and we'll take it from there!
Frequently asked questions
- What is 3D puff embroidery?
- It's an embroidery technique where foam is laid on the garment and stitched over, so the design rises off the surface instead of lying flat. Satin stitches wrap and seal the foam, the excess tears away, and you're left with a raised, sculpted logo — most often on a structured cap.
- How is puff embroidery done?
- Any flat elements stitch first, then a sheet of 2mm or 3mm foam is laid over the area to be raised and tacked down. Dense satin stitches run over it, perforating and sealing the foam at every edge. The excess foam tears away, and a heat gun cleans up any strays.
- Does puff embroidery cost more than flat?
- Yes, it's an add-on. Puff needs higher stitch density, and embroidery is priced by stitch count, so expect roughly $2 to $4 more per hat than the same logo stitched flat. The cap you choose still moves the total more than the puff upcharge does.
- Can you do puff embroidery on any hat?
- Not well. Structured caps are the right choice — the firm front panel keeps the raised shape crisp. Unstructured and dad caps have a soft panel that collapses under the foam, so the effect flattens and edges look rumpled. Beanies work fine on a folded cuff.
- What fonts work best for puff embroidery?
- Bold block letters and thick sans-serif type. Puff elements want to be at least about 1/8 inch wide so the satin stitch can seal the foam. Thin script, hairline strokes, and small text don't hold foam and end up ragged, so those are better stitched flat.
- Can you mix flat and puff embroidery in one design?
- Yes, and it's usually the best-looking option — a raised main element with flat supporting detail underneath. Some print-on-demand services won't do it in the same area, but that's a limitation of their setup, not of the technique itself.
- How big can a puff embroidery design be?
- On a cap front, commonly around 4.5 inches wide by 2.25 inches tall, since that's the usable area before you hit the seam and the curve. Individual puff strokes generally run between about 1/8 and 1/2 inch wide; wider areas get broken into sections.
- Does puff embroidery hold up in the wash?
- On hats, yes — they're rarely machine washed and the structured panel supports the stitching. On shirts and hoodies that get laundered constantly it wears faster than flat embroidery, which is why we usually recommend flat stitching on apparel and save puff for caps.
- Do I need a different file for puff embroidery?
- Yes. Stitch direction, density, and sequence all change when you're stitching over foam, so it has to be digitized specifically for puff — a flat file run over foam won't seal properly. Digitizing is included on company-store and qualifying bulk orders, so there's usually no extra setup charge for the puff version.
- What is the minimum order for puff embroidery hats?
- A one-time run starts at 24 pieces. Through an online company store there's no minimum at all, so you can order a single cap whenever you need one. We'd recommend a physical sew-out before a big run, since foam behaves differently on different fabrics.
Got a project in mind?
Send us your idea and quantities — we'll come back with a free mockup and quote.
Get a free quote